Applies to:
- Bluebeam Cloud — Web
- Bluebeam Cloud — iOS
Included in Bluebeam Cloud field tools, the  RFIs tab allows project managers and team members to create, track, and respond to official questions that could impact job costs and schedules. This article covers how our app/browser solution supports the entire RFI lifecycle.
To create an RFI or post an RFI on a published drawing, you must have a Core or Complete subscription with Admin permissions.
Create RFIs
If you need to create a new RFI for your project, follow these steps:
- From the
 Dashboard, select RFIs in the left sidebar.
 - Click or tap Create RFI in the upper right corner of the window.
- Enter the Subject for your official question.
- Fill in the Question field.
- Select an Assignee for the RFI.
- If you’d like other design team members to be notified about the RFI via email, you may add them to the Distribution List.
- Specify the Due Date.
- You may also select an Impact for the RFI if it affects job cost, schedule, or both.
- Additionally, you can add attachments to your RFI for more context.
- Select Insert Files to add drawings from Bluebeam Cloud, Studio Projects, or a compatible integration.
- Select Upload Files to add PDFs from your device.
To insert files from an integration, first connect the account in Profile
 > Connected Accounts. You must have Admin permissions to access project settings.
 - If needed, enter the Project Code.
- Click or tap Send.
After an RFI is sent, the design team will receive an email notification to view and respond to it in Bluebeam Cloud. Until the RFI receives a response, its status remains Open.
Forward an RFI
Once an assignee receives an RFI, they may need more information from other design team members before creating an official response. Forwarding an RFI in Bluebeam Cloud starts a discussion. To do this, follow these steps:
- Select View RFI in your notification email, or from the Dashboard, select RFIs, and choose the RFI that was assigned to you from the summary list.
If you open an RFI via email, you’ll be prompted to sign into Bluebeam Cloud if you haven’t already.
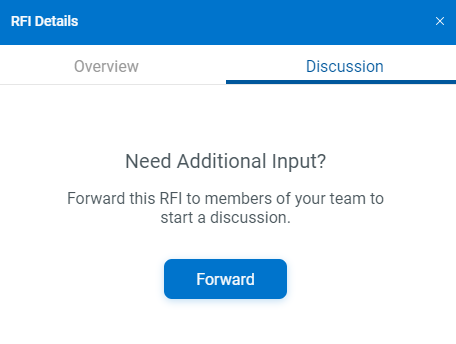
- In the RFI Details dialog, toggle from the Overview tab to the Discussion tab.
- If a discussion hasn’t been created yet, click or tap the Forward button in the center of the dialog. Otherwise, select Forward in the bottom right corner.
- Add team members from your Bluebeam Cloud project in the Forward To field.
- Enter a Message to kick off the discussion.
- If needed, you may also Insert Files (from Bluebeam Cloud, Studio Projects, or an integration) or Upload Files (from your device).
- Select Submit.
Now, team members who had the RFI forwarded to them can contribute more information by opening the RFI in Bluebeam Cloud, toggling to Discussion, and selecting Reply in the bottom right corner.
Although you don’t need a Bluebeam subscription plan to forward or respond to an RFI, you must be an active user in a Bluebeam Cloud project.
Respond to an RFI
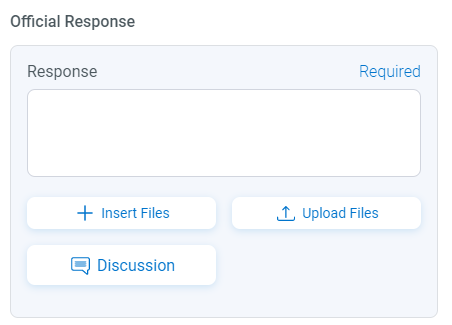
Once you have all the information you need to send back to the RFI requestor, you can create an official response. Just follow these steps:
- Open the RFI in Bluebeam Cloud.
- Enter a Response.
- To provide additional information, attach PDFs via Insert Files (from Bluebeam Cloud, Studio Projects, or an integration) or Upload Files (from your device).
If an RFI has an active Discussion, you can also attach specific messages from the discussion in your official response.
- Click or tap Send.
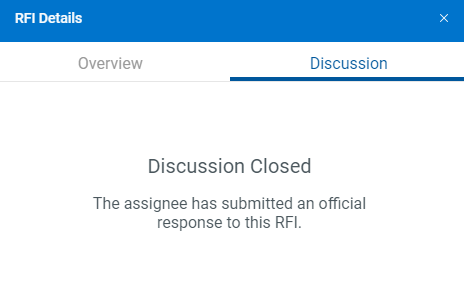
After an RFI receives an official response, its status automatically changes to Closed, and the Discussion is also closed.
Post RFIs on drawings
Once an RFI has an official response and becomes Closed, it can be posted on a drawing to notify all project stakeholders. To do this:
- From the Dashboard or RFIs tab, select
 Drawings in the left sidebar.
 - Open a published drawing that pertains to the closed RFI.
- Select RFI below the
 Tool Chest and markups.
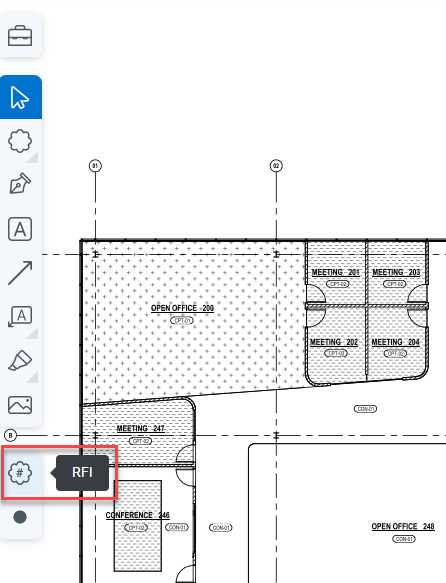
- Click and drag the RFI cloud on the applicable area(s) of the drawing.
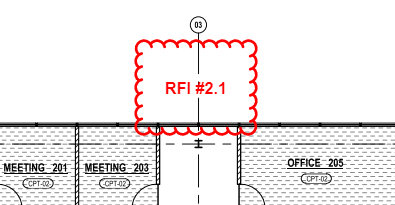
When you select the RFI cloud on your Bluebeam Cloud drawing, the RFI details will display.
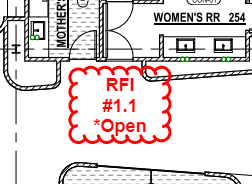
If an RFI is reopened for further clarification, its status will automatically change to Open in the RFIs summary tab and any drawing on which it’s placed.
If you’d like to learn more about design review and other field tools available in Bluebeam Cloud, click here.
Bluebeam Cloud
How-To