Applies to:
- Revu for Mac 1
Although Studio Sessions don’t maintain a revision history of your files, it is possible to do so by setting up a Studio Project first, and then uploading the initial version of your files to it. Once you’ve done this, you can move them over to a new or existing Session as described below, and periodically update the Project copies with new versions from the Session based on your progress.
Things to Think About First
Before we get into the specifics of this workflow, there are a couple of factors to consider:
Supported File Types
Although Studio Projects support any file format that’s compatible with programs on your machine, Sessions only support PDF’s, so this workflow only applies to this file type.
How Many Files Are You Adding to the Session?
While you can upload as many files as you’d like to a Project, each Studio Session accommodates a maximum of 5000 documents, with a 1 GB per file size limit. If the original Project contains more than 5000 files, you’ll need to modify the workflow by creating multiple Sessions, as described later in this article.
You can find more information about these topics and additional Bluebeam Studio guidelines on our website.
How It’s Done
For the sake of simplicity, let’s first go through the specific steps for this workflow using a single document, once you’ve started your Project and uploaded the file:
If you’re going to upload files that need to be calibrated, or have custom columns or custom statuses added, you should do this before adding them to the Session.
This is important, because although you’ll be able calibrate a drawing in the Session, you won’t be able to use the Store Scale in Page function.
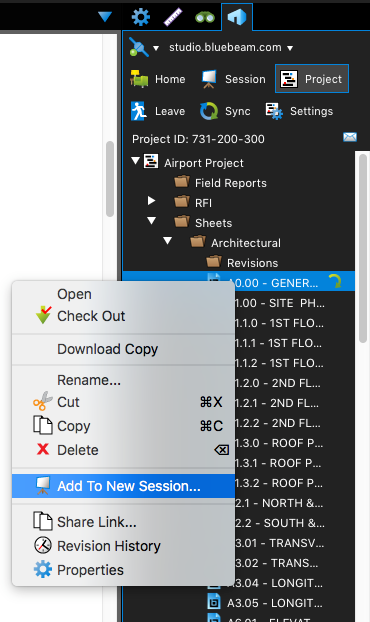
- Once you’ve finished uploading your file, right-click on it and click Add to New Session
 .
.

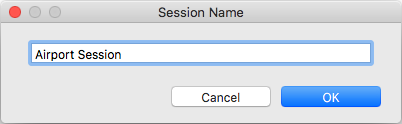
- Enter a name for the new Session and click OK.
The new Session opens automatically and will display the document, which has actually been “checked out” to the Session. You can either continue working on the file in the Session or click Leave
 to get out of it.
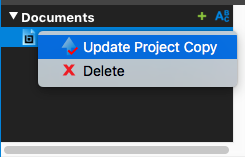
 - Once you’ve marked up the file in the Session, and you’ve gotten to a point where you’d like to create a new revision in the Project, right-click on the file name and click Update Project Copy
 .
.
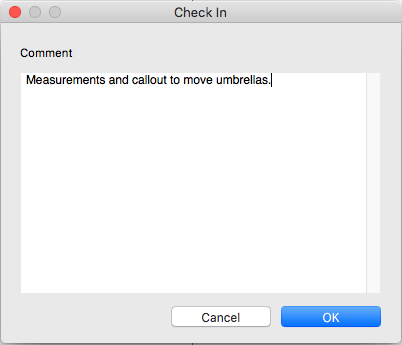
A Check In dialog box appears, where you can enter comments and click OK, so that a copy of your work is added to your original Project as the latest document revision.
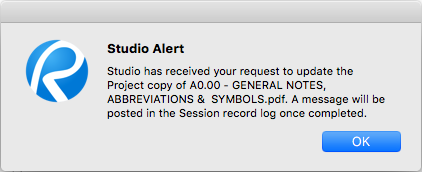
A Server Alert message will eventually appear, confirming that the check-in request was received.
If you go back into the Project, you can open the Revision History to see a list of your document revisions.

- Once all the work has been completed in the Session, and you’ve finished creating your revisions, you can Finish the Session, and upload the Session Report to the Project.

The great thing about this workflow is if you have multiple documents or folders of documents in the original Project, you can also add each file or multiple files to different Sessions by repeating step one to add them to either a pre-existing or new Session.
This is useful if the number of files in the Project is higher than the 5000 document limit for Studio Sessions.
How-To
Revu for Mac 1
Studio