This article applies to:
- Revu for Mac 1
Jump to other versions:
Every so often, we hear from a customer who’s built custom markup tools by grouping different markup types together, only to see that they’re listed in the Markups List with an incorrect subject name such as “Group.”
This generally happens when custom Punch symbols are being built; however, the steps listed below for correctly building custom markups by grouping different types of markups applies to all markup creation.
Building a Custom Punch Tool
-
- Go to File > New to open a blank PDF document.
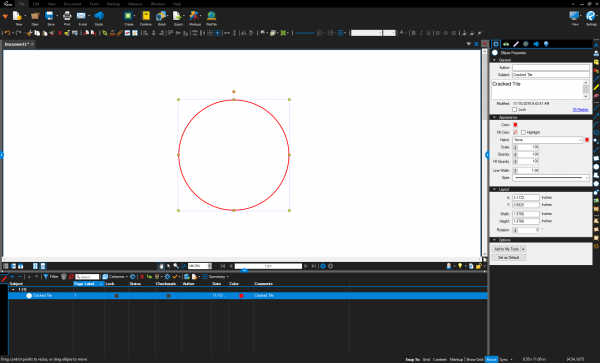
- Grab the Ellipse tool (keyboard shortcut E ) and draw a circle on the blank page.
Tip: Hold down Shift when placing this markup to draw a perfect circle.

A list of Revu for Mac keyboard shortcuts is available in the Revu Help menu and on our web site.
- Right-click or Ctrl+click the markup and select Properties from the context menu.
- Go to the Properties tab (usually located in the right panel). If it’s not already there, type the correct symbol name in the Subject box (i.e. Ellipse), and then press Enter. Make other adjustments you need, such as the line width and size of the markup, until it looks the way you want it to.
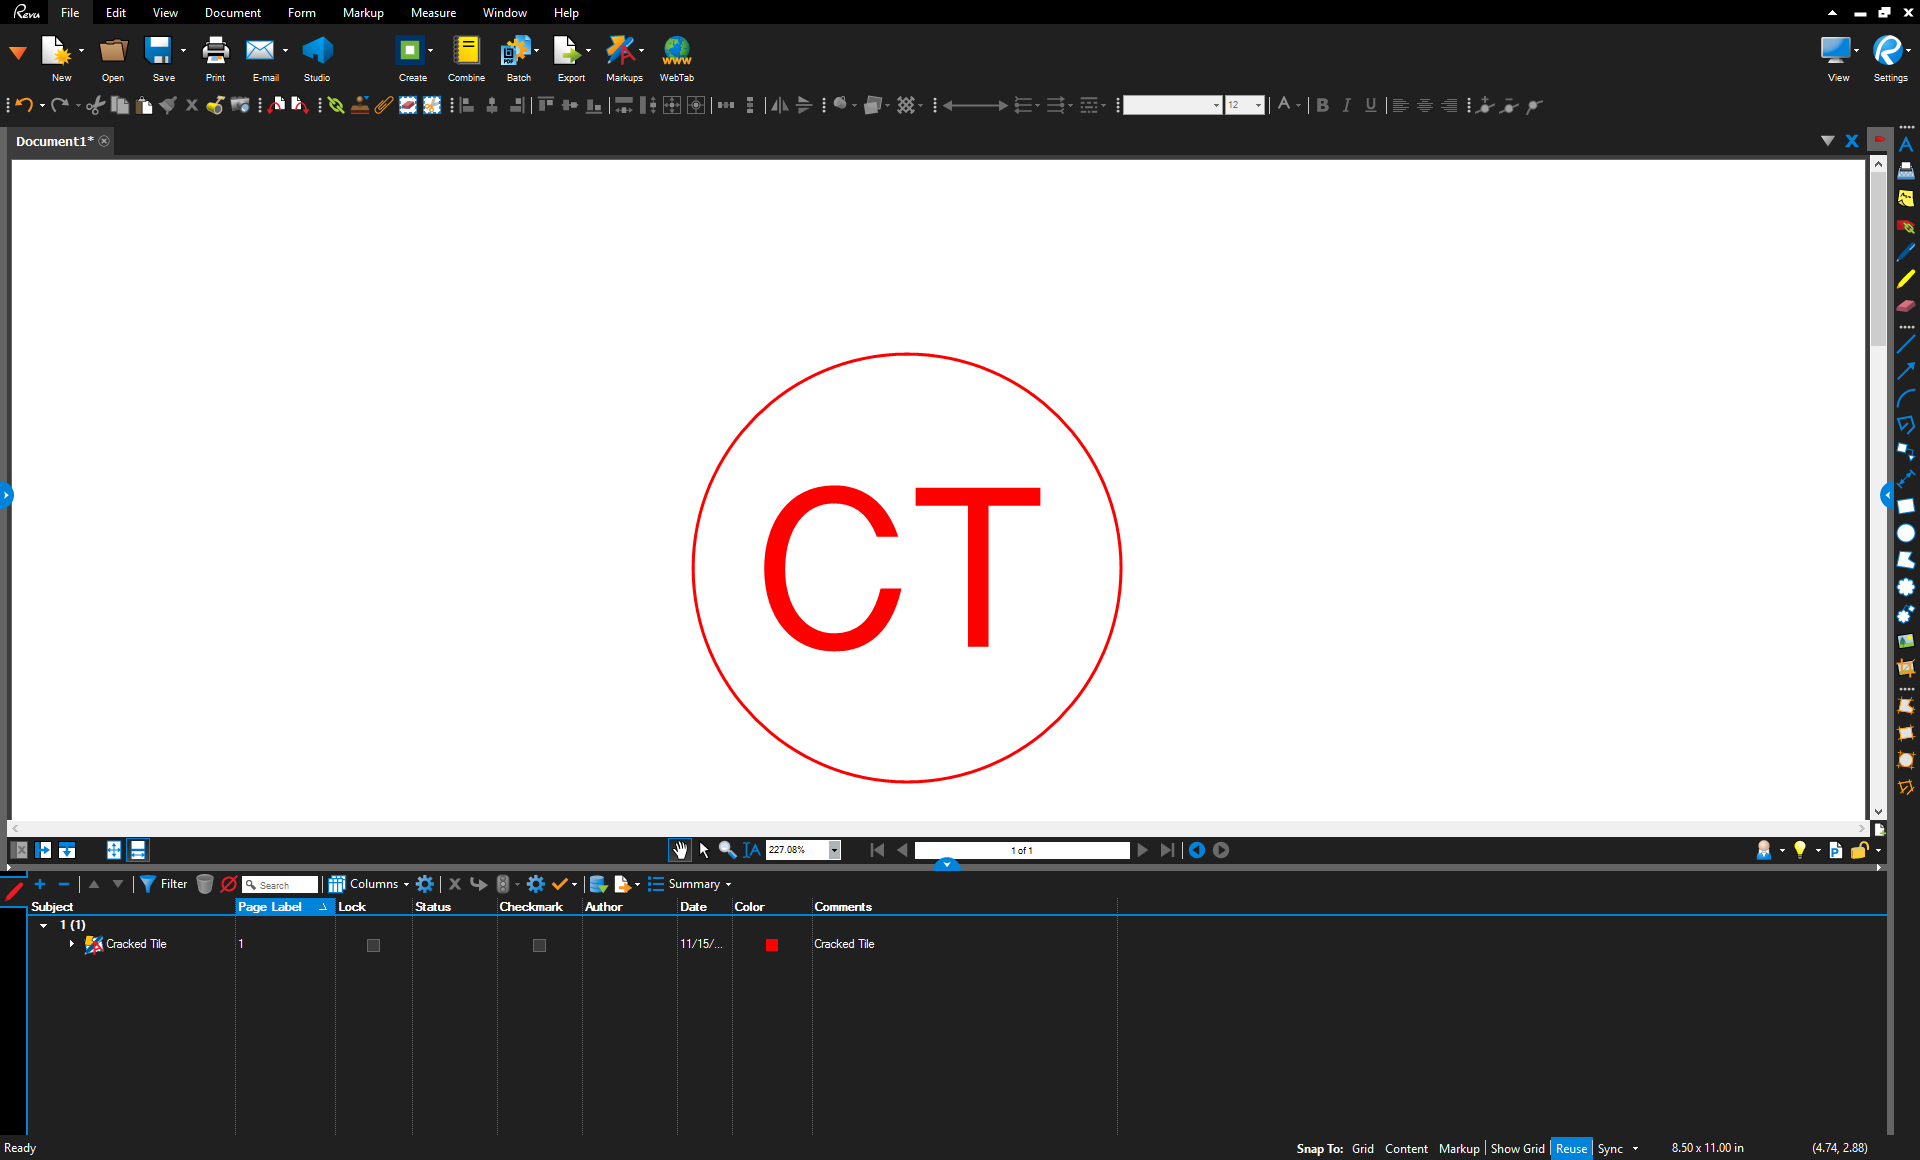
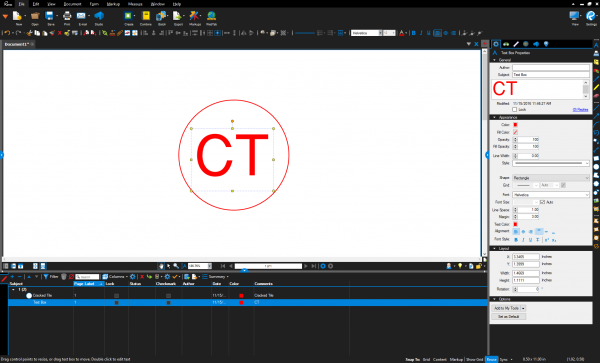
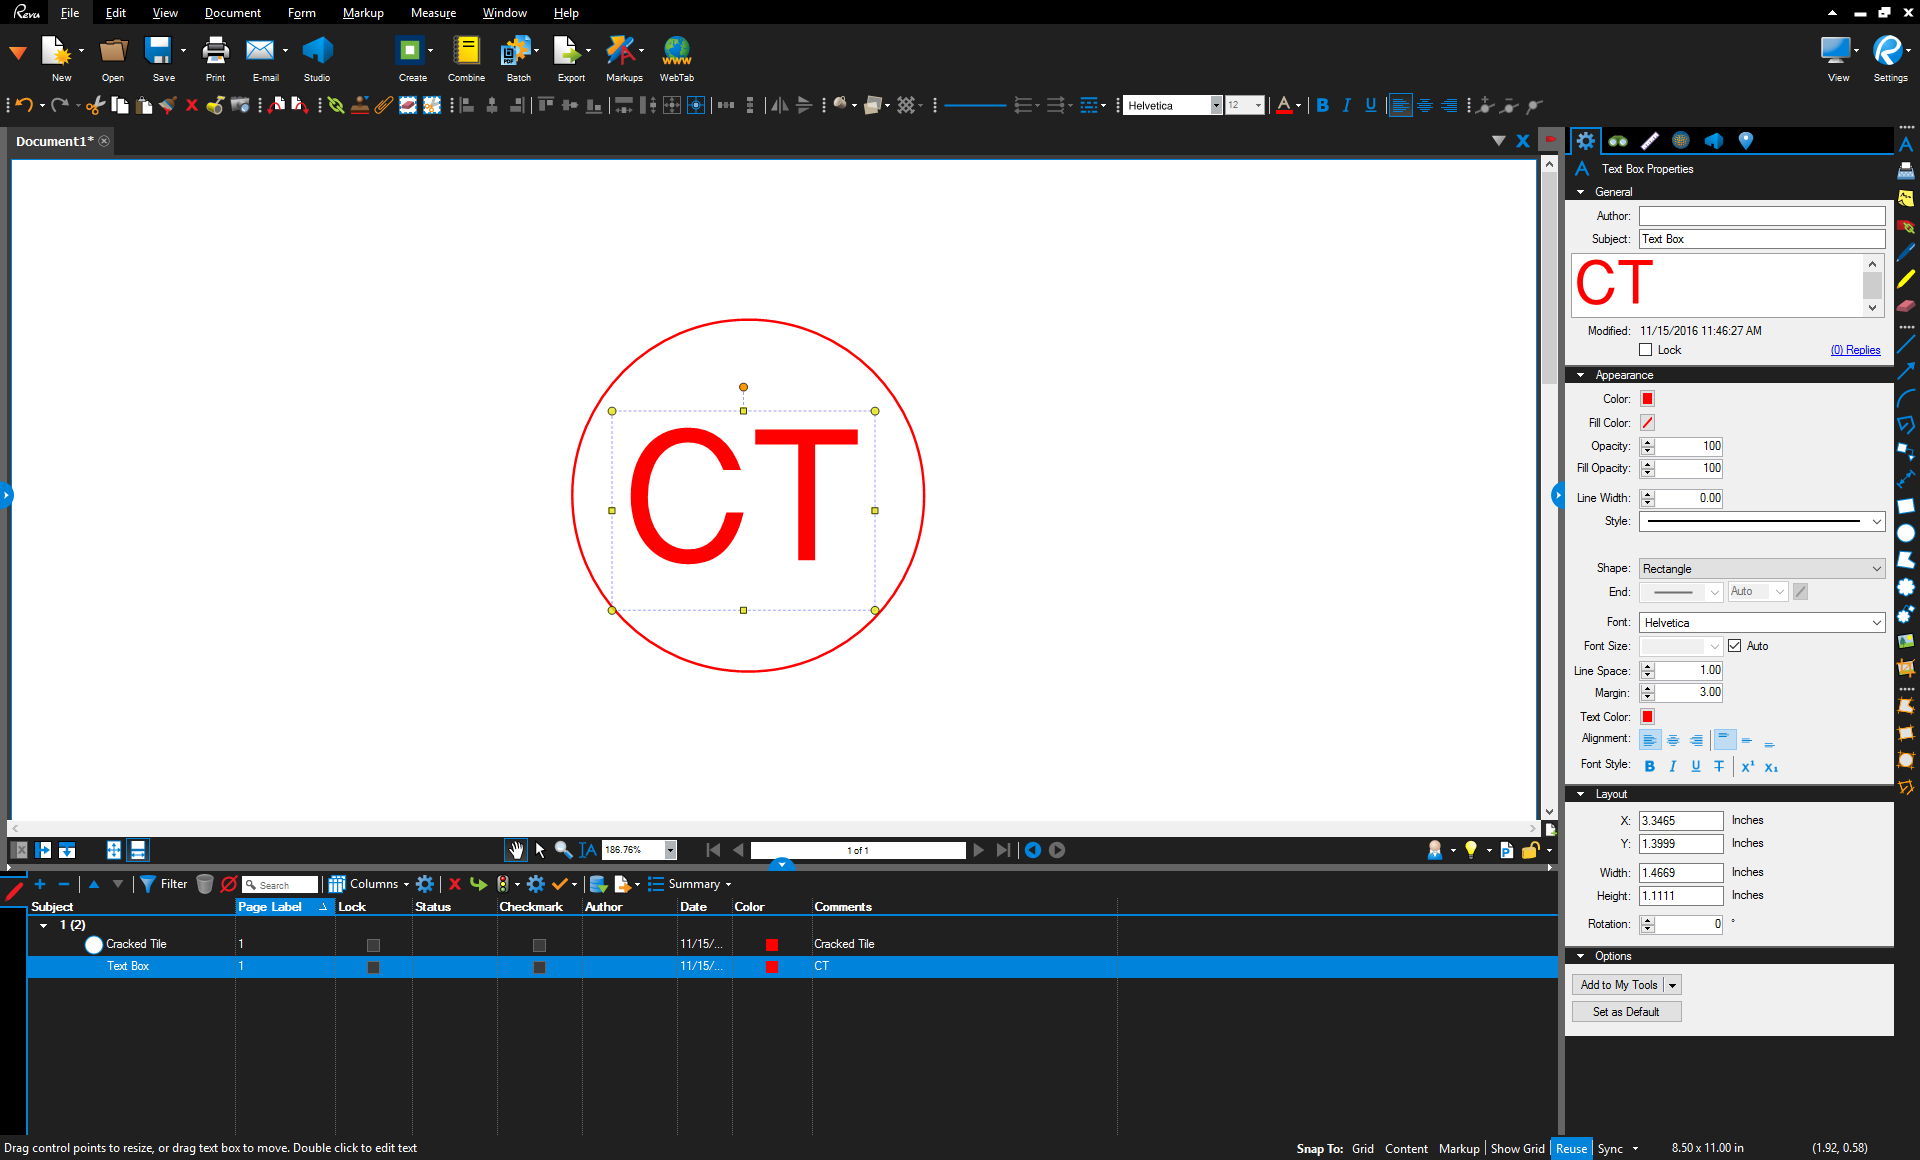
- Place a Text Box (keyboard shortcut T ) on the page, and type the text for the Punch symbol. Adjust the font size and other properties in the Properties tab.
- Right-click or Ctrl+click on the Text Box on the PDF, and select Autosize Text Box from the context menu. Move the Text Box in relation to the circle markup until everything looks the way you’d like it to.
- Go to the Markup list and select the Ellipse, then press keyboard shortcut Command+A so that all subsequent markup elements are selected (in this case, just the Text Box markup).
The order in which the markup elements are selected is extremely important, so always make sure you select the “first markup” first before using Command+A; otherwise, they won’t display or work correctly in earlier versions of Bluebeam Revu.
- Right-click the entire selection in the Markup list and select Group in the context menu, or just use keyboard shortcut CommandG.
At this point you should see what looks like a single markup on the page and in the Markup list. However, the subject of the new markup is listed as “Group” in the Subject column.

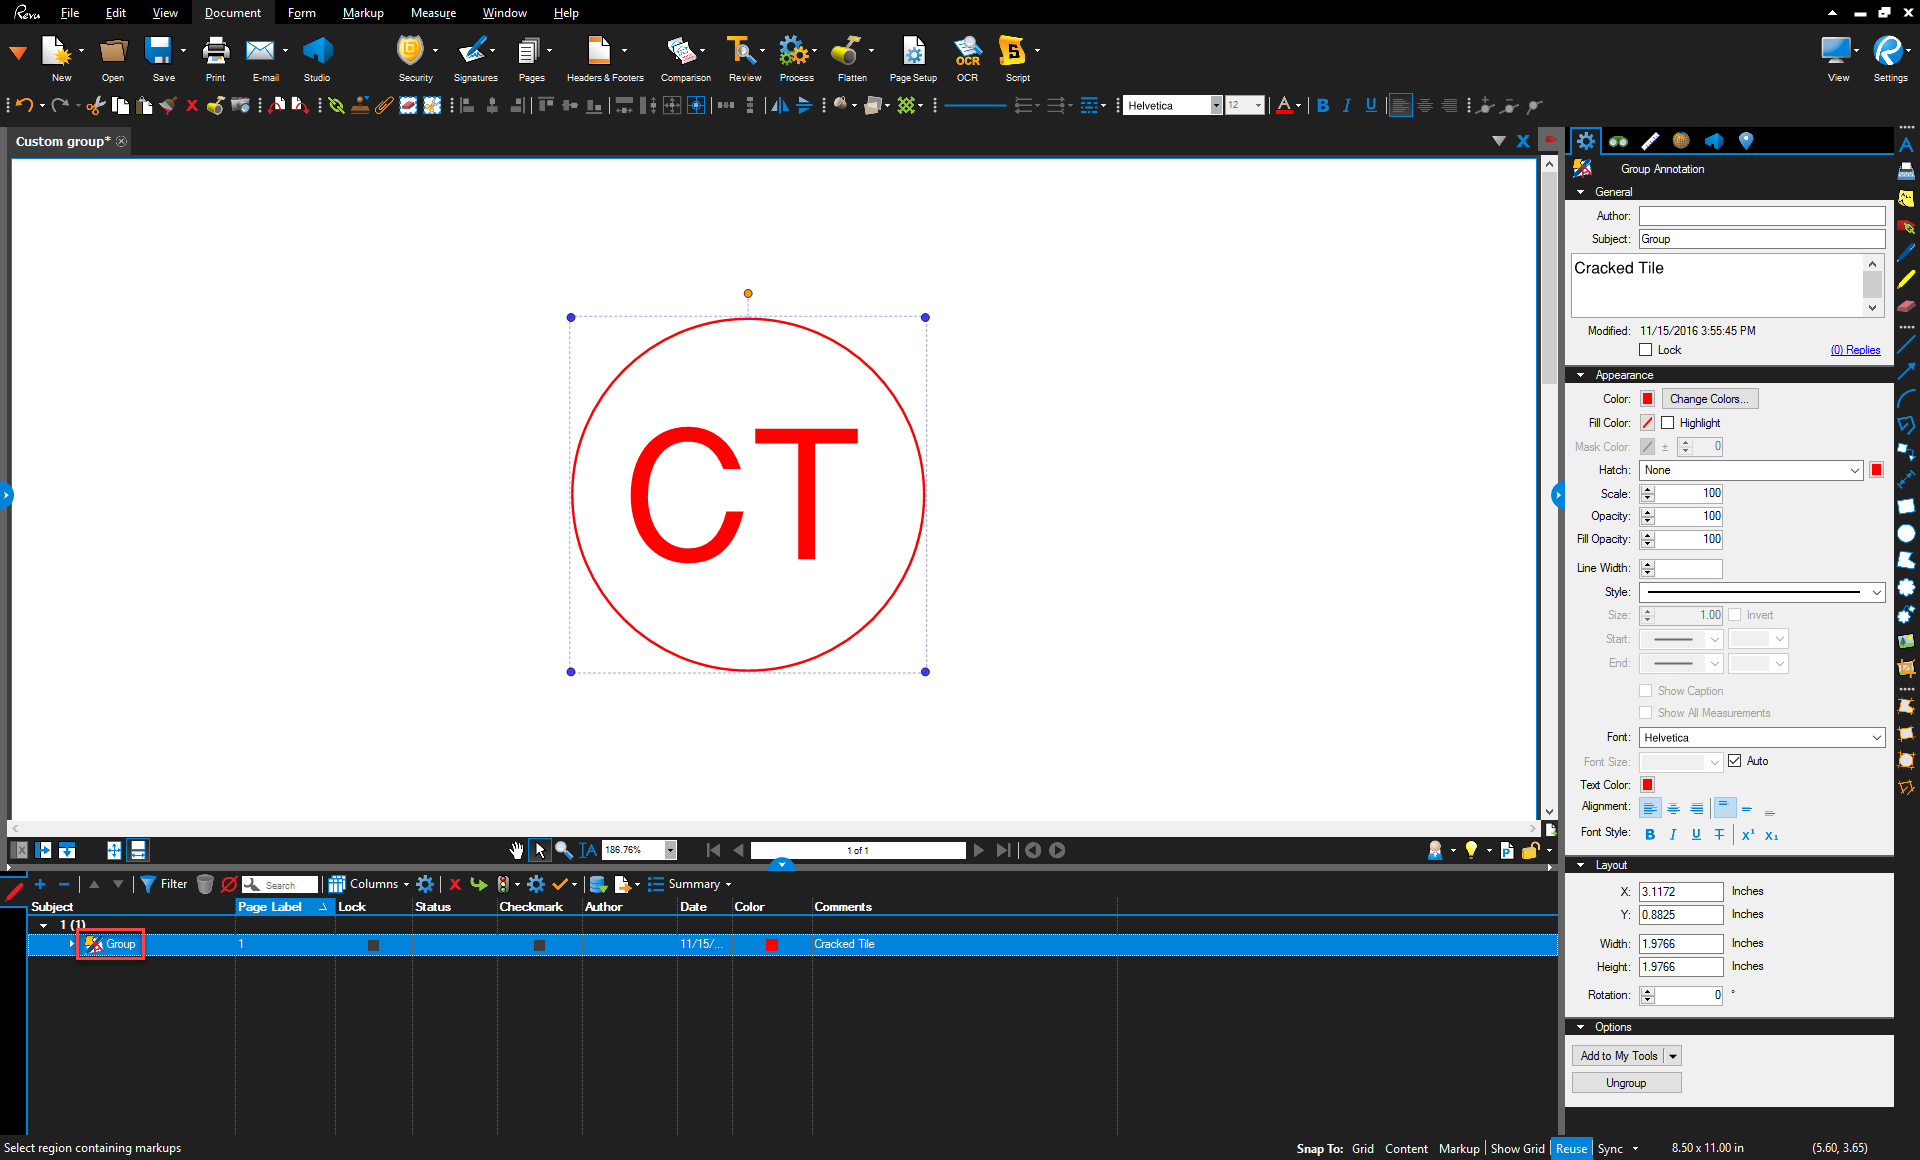
To fix this:
- Go to the Markup list, and double-click the current subject name (in the Subject column), type the correct name and then press Enter.

- Now you can save the new markup to a tool set in the Tool Chest .

How-To
Revu for Mac 1
Markup