This article applies to:
- Bluebeam Cloud – Web
If you created a Bluebeam Cloud project and need to switch server regions, you’ll need to move your project data to the new server manually. In this article, we cover how to download and export all your Bluebeam Cloud project data, so you can successfully transfer all information to a new project on a different server.
As a best practice, Bluebeam Cloud data should be backed up via web browser — not the app.
Set up source folder for project data
Before getting started, we suggest you set up a destination folder for all your project data files. To do this:
- Open the File Explorer (or equivalent) on your desktop.
- Go to your Documents folder (or any other destination) and right-click anywhere inside the destination folder.
- Select New > Folder.
- Enter a name for the new folder. We suggest naming it after your Bluebeam Cloud project.
Export users
After migrating to a new server region, you can invite the same team members from your project by exporting a list of current users as a record.
To generate an export of Bluebeam Cloud users, you must have a Core or Complete subscription plan with Admin permissions.
- If you aren’t logged in already, sign into Bluebeam Cloud.
- Select
 Projects in the left sidebar and choose the project you need to migrate to a new server.
 - From the
 Dashboard, select Settings under Admin.
 - In the top right corner, select Export.
A .xlsx file with a list of project users will download, including important information such as the permission level of each user and any teams that apply to them. Move this Excel file to the folder you set up for all your Bluebeam Cloud project exports.
Download drawings and documents
Next, you should download any drawings and/or documents that need to be transferred to the new project/server. To do this:
- From the Dashboard select
 Drawings or
  Documents.
 - Double-click a drawing or document to open it in the Markup Editor.
- In the far right corner of the Markup Editor, select the
 menu icon.
 - Click Download.
- Move the file to the project folder you set up for all exports/downloads.
Repeat the steps above for all project drawings and documents that you need to back up or migrate.
Generate punch report
To generate punch reports, you must have Member or Admin permissions.
- From the Dashboard, select
 Punch in the left sidebar.
 - Above your punch summary, select Generate Report > As Excel.
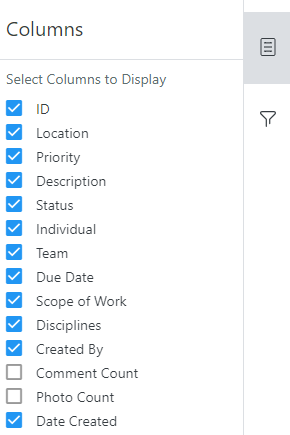
Your Excel report will include all the columns displayed in your punch summary. To adjust, click the columns icon in the right sidebar and select/deselect categories for your report.
- Move the .xlsx file with all your punch items to the folder you created for Bluebeam Cloud project data.
Export RFIs
- From the Dashboard, select
 RFIs in the left sidebar.
 - Above your RFI summary, select Export > Export as .xlsx.
- After your RFI log downloads, move it to the project folder you set up for all exports/downloads.
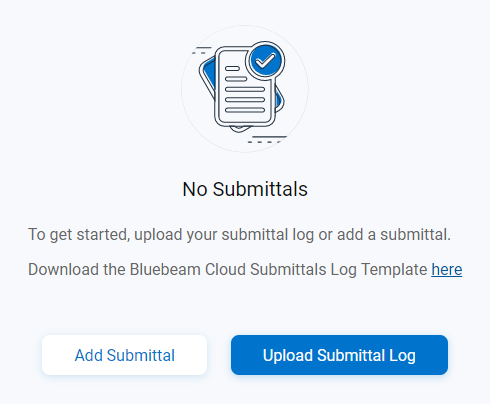
Export submittal log
To export an entire submittal log, you must have Admin permissions. If you’re a Viewer or Member, you can only export My Submittals.
- From the Dashboard, select
 Submittals in the left sidebar.
 - At the top of the window, select Export > Export as .xlsx.
- Move your submittal log file to the project folder you created.
Bluebeam Cloud
How-To