Using an older version of Revu?
Applies to:
- Core
- Complete
To migrate your Studio Session data from one Studio server to another, you’ll need to download all your Session files and upload them to a new server. For example, if your Sessions are hosted on Studio US, and you want to migrate your data to Studio AU, you’ll first need to download and backup your files, create a Bluebeam ID (BBID) on the Australian server, and then upload your files to the new server.
How to download and back up your Studio Data
To download and back up your Session files, you’ll first need to finish the Session. Only Hosts and users with full control permissions can finish a Session.
To finish a Session:
- Join the Session, and ensure no one else is currently active.
- From the <Session Name & ID menu>, select
 Finish Session.
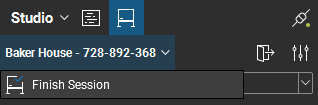
- To include markups made by specific attendees, select the desired names from the Include Markups list. Any markups included on a Session document will be unalterable once reuploaded to a new Session.

- Select Save In Folder to save the Session documents in a specified folder and preserve the original files from being overwritten.
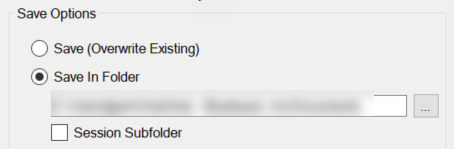 To change the default folder location, select
 and navigate to the desired folder. You can also select Session Subfolder to create a subfolder with the Session name in the specified location.
 - Select Close files after finishing to automatically close any Session files that are currently open in Revu.
If you want to generate a report for the Session, select Generate Report. To learn more about Session Report types and settings, see Generating a Session Report.
- Select OK to finish the Session.
The Session and all of its files are removed from the Studio server when the Session is finished. If you need to recover any Session documents, you’ll first need to reactivate the Session (within 120 days) and then recover the desired Session document(s).
How to upload your Studio data onto a new server
Before you upload your Studio data to a new server, be sure to have a BBID associated with that Studio Region. Be aware that any PDFs containing markups from the previous Session will be locked. You’ll be able to add new markups to the document, but you won’t be able to alter any existing markups from the previous Session.
Once you’ve signed into your desired Studio server region:
- Select the
 symbol and select New Session.
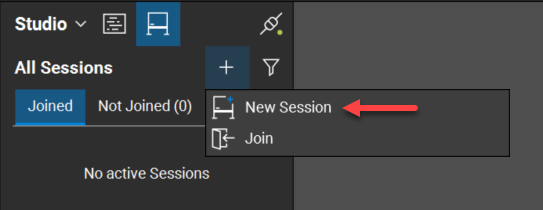
- Under Documents, select Add. Navigate to the folder location containing your Session documents, and select the desired documents.
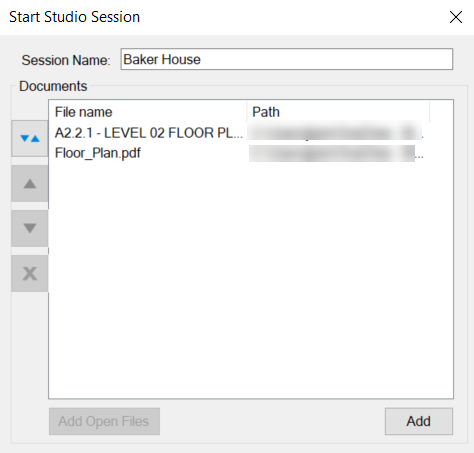
- Configure your Session settings, and select OK.
A new Session that contains your desired documents will open. Invite users to the Session to begin collaborating.
Troubleshooting
Studio