Repair PDF
Sometimes PDF files will suffer from various display issues. When this happens, often the issues can be corrected with Repair PDF. Be aware that performing this action on a page containing flattened markups will prevent all markups on the page from being unflattened.
This process can be run on multiple PDFs at the same time. PDFs do not need to be open in Revu when the process is run. If a document is open in Revu, any changes resulting from the process will be made to the document, but the document will not be saved or checked in (if relevant); the user will need to save and check in the document manually. If a document is not open in Revu, and it is not checked out/locked by another user, changes will be applied and saved to the document automatically (without opening the document in Revu).
-
Go to Document > Repair PDF. The Repair PDF dialog box appears.
- Alternatively, go to Batch > Repair PDF.
-
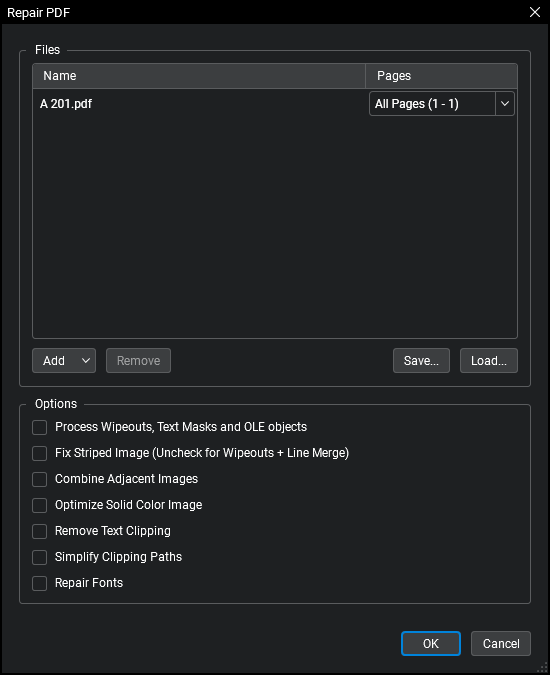
The active PDF, if any, is automatically added to the process. To add more PDFs, click Add and use one or more of the following methods:
- Files: Adds individual files from a network or local drive. Selecting this option will cause the Open dialog box to appear. Navigate to the appropriate location and select the desired files.
- Open Files: Adds all files currently open in Revu.
- Open Set: Adds all files contained in the current Set.
- Folder: Adds all files in a selected folder on a network or local drive, but not files contained in any of its subfolders. Selecting this option will cause the Select Folder dialog box to appear. Navigate to the desired folder and select it.
- Folder and Subfolders: Adds all files in a selected folder on a network or local drive as well as all files within any of its subfolders. Selecting this option will cause the Select Folder dialog box to appear. Navigate to the desired folder and select it.
-
To repair the content of specific pages for one or more of the PDFs, select the desired PDF and choose one of the following from its Pages dropdown:
- All Pages: Sets the range to all pages.
- Current: Sets the range to the current page only.
- Custom: Sets the range to a custom value.
- Use a dash between page numbers to define those two pages and all pages in between.
- Use a comma to define pages that are separated.
For example: 1-3, 5, 9 will include pages 1, 2, 3, 5 and 9.
- Current View: Limits the process to the current zoom.
- Even Pages: Limits the process to only even pages.
- Odd Pages: Limits the process to only odd pages.
- Landscape Pages: Limits the process to only landscape-oriented pages.
- Portrait Pages: Limits the process to only portrait-oriented pages.
- Select the desired repair options:
- Process Wipeouts, Text Masks and OLE objects: Corrects PDFs created from AutoCAD drawings that have text masks or wipeouts.
- Fix Striped Image: Corrects lines or stripes that appear in images. This option should not be selected when Line Merge has been enabled.
- Combine Adjacent Images: Joins images that are next to each other into a single image. Large images are sometimes sliced into smaller sections or strips at the time the PDF is created. This option will rejoin these sections into a single image.
- Optimize Solid Color Image: Converts any solid color raster images to vector which requires less space to store in the PDF and reduces the PDF file size.
- Remove Text Clipping: Corrects PDFs with text near the upper margins of a drawing that is clipped.
- Simplify Clipping Paths: Corrects excessive clipping paths created around non-rectangular crop boxes in PDFs created from some programs (including Revit) which results in large file sizes.
- Repair Fonts: Corrects issues related to fonts.
- Click OK.