Applies to:
- Revu 21
Overview
Bluebeam Revu 21.0.30 and above supports files secured via Microsoft Purview Information Protection (MPIP), previously known as Microsoft Information Protection (MIP). MPIP is an integrated document security system.
The Revu 21 interface refers to MIP. To avoid confusion, this document will use that product name when referring to options in the Revu 21 interface.
MPIP uses sensitivity labels to apply different levels of security to documents, and these sensitivity labels are managed through the Microsoft Purview compliance portal. When applying MPIP sensitivity labels, your organization gains access to the benefits listed below.
- Scope: Determine what kind of content is protected (i.e., files, emails, groups).
- Encryption: Decide whether or not to encrypt protected content.
- Content markings: Add informational headers, footers, watermarks, timestamps, etc.
- Sharing: Choose who can see the content outside the organization.
- Auto-labeling: Enforce sensitivity labeling for new content.
Learn more about sensitivity labels.
Configure MPIP for use with Revu
Before you can open MPIP-secured files with Revu, an administrator in your organization with the Entra ID Global Administrator or Application Administrator role must first create a client app in Entra ID.
Register a client application to be used with Revu
To register a client application to be used with Revu, follow these steps:
-
Go to https://entra.microsoft.com/ and log in with your administrator credentials.
-
From the menu on the left, select Entra ID > App Registrations.
-
From the top of the App Registration page, select New Registration.
-
In the Register an application dialog, provide the following information:
-
Name: Provide a name for your application.
-
Supported account types: Select Accounts in this organizational directory only (MSFT only - Single tenant).
-
Redirect URI: From the Select a platform dropdown, select Public client/native (mobile & desktop), and provide the following as the URI value:
https://login.microsoftonline.com/common/oauth2/nativeclient
-
The registered client app will appear in the Entra ID App Registrations section.
Review the client app setup
Review the following settings for the client app you created to ensure they match the settings displayed in the images below:
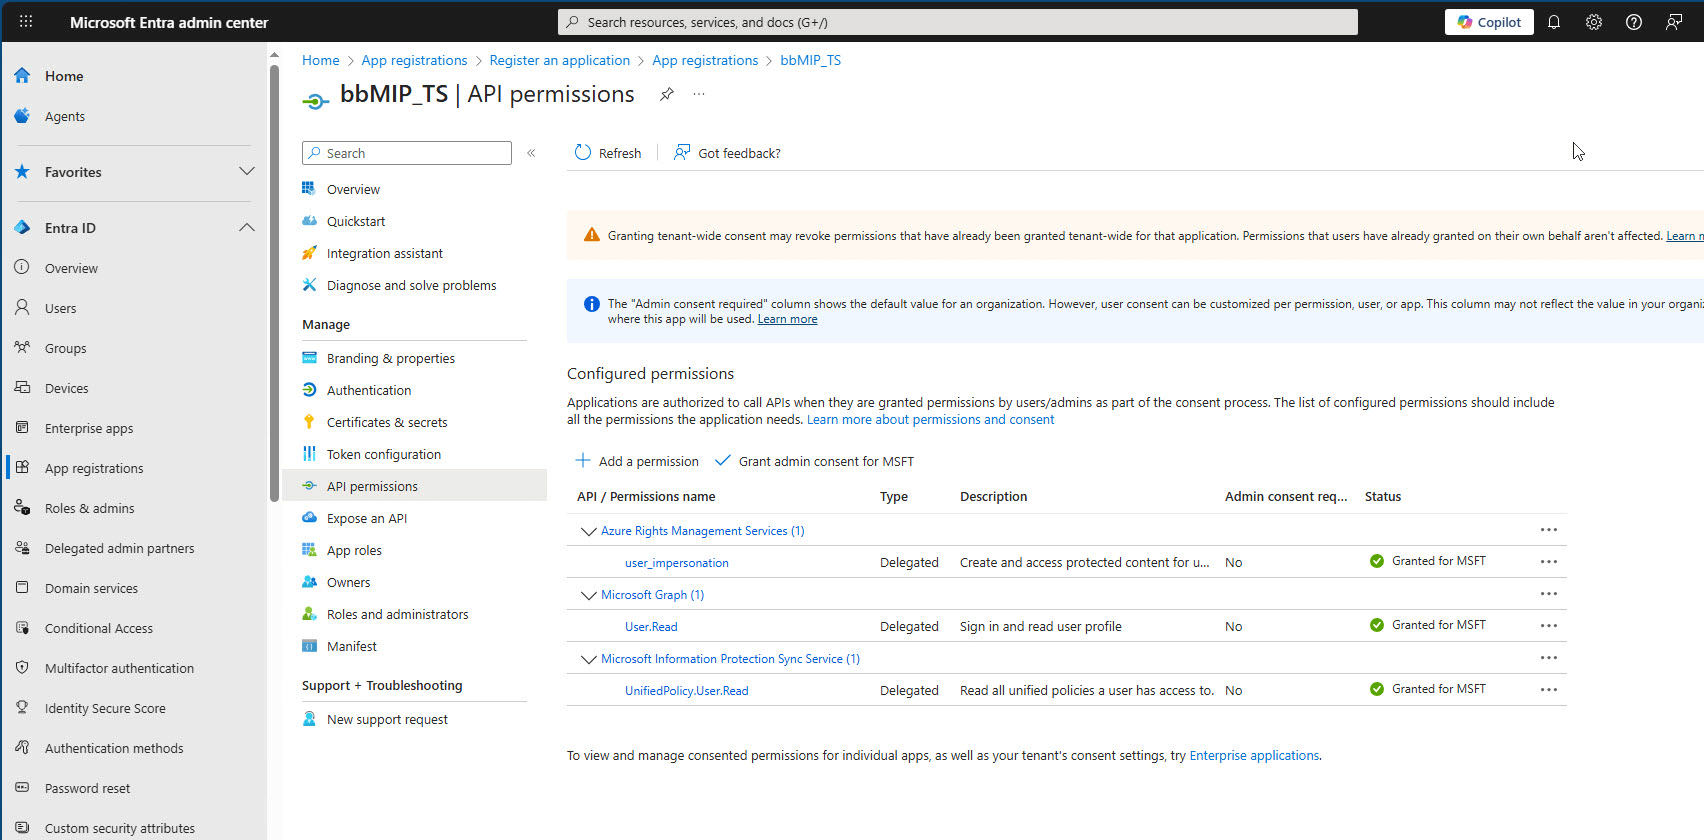

In Entra ID, select the client app from the App Registrations section. Copy the following values for reference when creating Windows registry string values that will be used with the MMIP integration with Revu:
-
Display Name
-
Application (client) ID
-
Directory (tenant) ID
Store MPIP information in the Windows registry
For Revu to recognize and access files secured by MPIP, edit the Windows Registry Editor on your computer to store the MPIP client app values you created in Entra ID.
To edit your Windows registry, perform the following steps:
- Be sure to close Revu.
- In Windows, open the Registry Editor.
- Navigate to the following path:
Computer\HKEY_LOCAL_MACHINE\SOFTWARE\Bluebeam Software\21\
- In the left panel, right-click the 21 key and select New > Key.
- Rename the new key MIP (which matches the label in Revu).
- In the left panel, right-click the MIP key and select New > String Value to create each of the following String Values for the MIP key:
- AppName: Use the Display Name value saved earlier.
- Clientid: Use the Application (client) ID value saved earlier.
- Tenantid: Use the Directory (tenant) ID value saved earlier.

- Open Revu. If you're using Revu 21.7 and GCC High with MPIP, run Revu as Administrator if you want to change the GCC High values. You can obtain these values from the person or organization that set up GCC High for your organization.
- Select Revu >
 Preferences.
 - From the left navigation of the Preferences dialog, select Admin.
- Select the MIP Config tab and ensure it displays the settings needed to open an MPIP-protected PDF.

The Cloud Type and Redirect URL fields in the figure above are GCC High parameters can only be changed if you run Revu as Administrator.
From the Cloud Type dropdown, select the GCC High cloud type you're using.
Configure the Redirect URI to match the Revu endpoint and use the correct GCC High or Entra ID Government domain.
-
Select OK.
Use MPIP with Revu
After you create the client app in MPIP and add the registry values to your Windows device(s), you can open MPIP-secured files in Revu and Studio.
When you open the MPIP-protected file, Revu will prompt you for your Entra ID credentials. If your credentials match an MPIP sensitivity label that grants permission to view the document, it opens in Revu or Studio. After you successfully open the file with your credentials, Revu won't prompt you for your credentials again for any MPIP-protected file.
Troubleshooting
MPIP configured + no Entra ID tenant account
When MPIP is configured in your Revu preferences but your account isn't included in the Entra ID tenant, Microsoft won't be able to authenticate your credentials. After opening an MPIP-secured PDF in Revu and entering your credentials, you'll encounter the following message:
This username may be incorrect. Make sure you typed it correctly. Otherwise, contact your admin.
If the error persists, contact your IT department to add your account to the Entra ID tenant.
MIP not configured in Revu
If MIP isn't configured in your Revu preferences, you'll encounter an error message and won't be able to open an MPIP-secured PDF in Revu. Additionally, you may receive this error if you don't have permissions to view the file or your Entra ID credentials are incorrect. To troubleshoot, please contact your IT services team or jump to Store MPIP information in the Windows registry.

No permission to open MPIP-secured document
If MIP is configured in Revu but you don't have permission to open an MPIP-secured document sent to you, you'll encounter an error message and won't be able to open the document. If this occurs, contact the person who applied the sensitivity label to the document to gain access so you can open the document in Revu.

Learn more
Want to learn more about deploying MPIP for your organization's Revu users? Check out the additional resources below.
Creating a secure data environment with MPIP
These resources provide information about setting up a data environment to be properly protected.
Sensitivity labels
Assign sensitivity levels to your documents with the Purview Information Protection Viewer
If you download and install Microsoft Purview Information Protection Viewer, you can assign sensitivity labels to documents you create or, if you have the permission to do so, change the sensitivity label for a document.
To download and install the Purview Information Protection Viewer, follow these steps:
-
Download the Purview Information Protection Viewer.
-
When prompted, log into your Microsoft 365 account using the account that has the Entra ID tenant you want to test.
-
Right-click a file, such as a PDF, and select Apply sensitivity label with Microsoft Purview.
-
From the subsequent dialog, set the sensitivity label for the document.
Revu 21
Installation
How-To