Tutorial: Custom stamps
Stamps are an important part of many workflows. Revu comes preloaded with a variety of useful stamps, but many users will find that they want to create their own stamps. Revu makes the process simple.
In this tutorial, you'll create a basic approval stamp with the current date and the user's name, but the procedure can be used to create a wide range of stamps.
-
Go to Tools >
 Stamp > Create Stamp.
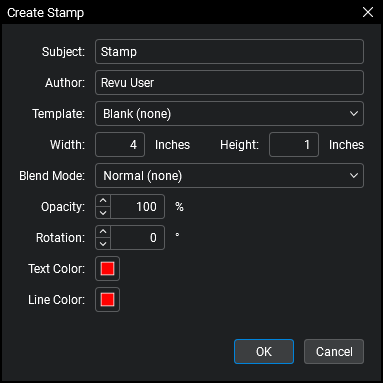
- Enter a memorable name for the stamp in the Subject field. For this stamp, use "Approved By and Date".
- Choose a template as a starting point from the Template menu. Use "Text with Date and Border" for this example.
- Set the Width and Height (in inches) as well as the Opacity and Text Color & Line Color. For this example, leave the defaults is place.
-
Select OK. The PDF stamp editor appears with the raw form of your stamp.

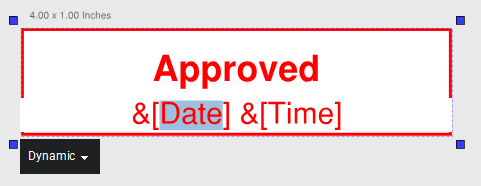
- Double-click the text (in this case, "Approved By and Date") to edit it. Since you only want the stamp itself to say "Approved," erase "By and Date".
- The dynamic elements of the stamp are identified by their format: &[element]. In this example, there are two: &[Date] and &[Time]. If you left these alone, any time the stamp was placed the date and time would automatically be placed on the stamp, but you would rather have the name of the user placing the stamp and the date instead. To change a dynamic stamp element, follow these steps:
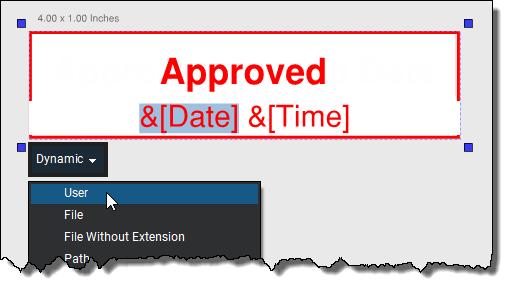
Double-click the desired dynamic element. A Dynamic menu appears.
- If you know the name of the element you want to use, enter it directly into the stamp. In the image above, notice how only the name of the element (Date) is highlighted. If you don't know the name of the element, select it from the Dynamic menu, but first, highlight the entire element (&[Date]), since selecting a new element from the dynamic menu inserts the entire element, including the ampersand and the brackets.
With the entire dynamic element selected, select the Dynamic menu and choose the desired element: User.
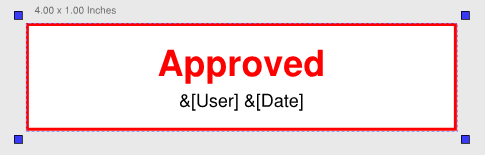
 The user name that the User dynamic element uses is the one in the General Preferences.
Repeat this process to change &[Time] to &[Date].

- Even though you left the appearance properties of your stamp on the default settings when you created it, you can change them now if you want to. Select the desired part of the stamp and make changes on its
 Properties tab. For example, suppose you want the approver's name and the date to be black instead of red and you want them to be in a smaller font. You would need to do the following:
- Highlight the desired elements (in this case, &[User] &[Date]).
On the Properties tab, change the Font Size and the Text Color properties.
- Use the same process to change the "Approved" text, to change the line color or thickness, to add a fill color, or whatever else you want.
- To resize the stamp, select its border and use the yellow control points like you would any other markup.
- Add your logo to the stamp.
- Go to Tools > Markup > Image >
 From File.
 - Select the desired image file and select Open.
To force your logo into the corner of your stamp, drag a rectangle with the image tool cursor
 .
.
- Go to Tools > Markup > Image >
- When you're satisfied with your stamp, go to File >
 Save. Your stamp is added to your stamps list and you can use it any time by going to Tools > Markup > Stamp and selecting it.