Tutorial: Create a custom line style set and line style
Line styles determine the appearance of the lines used in many line or shape markups. Revu comes preloaded with several default line styles and a line style editor allowing you to create your own line styles. Line styles are collected in sets for easy organization and can contain multiple lines, text and vector content. After a new line style is created, it will appear in the Style lists in the Properties Toolbar, Line Style toolbar and the Properties panel.
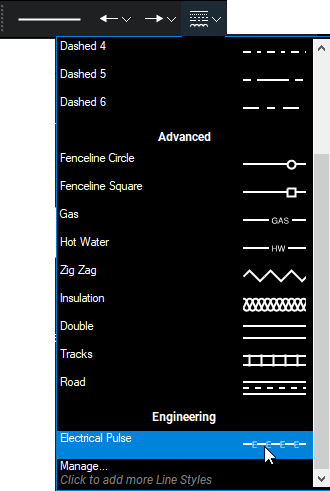
Before you can create a custom line style, you need a line style set to keep it in. Line style sets organize line styles and provide the mechanism by which line styles can be imported and exported. In this tutorial, you'll create a Line Style Set for Engineering and then create a new Line Style for an Electrical Pulse.
- Go to File >
 New PDF.
 - Select OK to create a blank document.
- Go to Tools > Markup >
 Line and draw any line on the PDF. Press ESC to set the line.
 -
On the Properties Toolbar, go to Line Style > Manage. If the Properties Toolbar is not currently visible, go to Tools > Toolbars > Properties Toolbar to show it.

You can also use the Properties panel: right-click the line and select Properties to open it and go to Style > Manage.
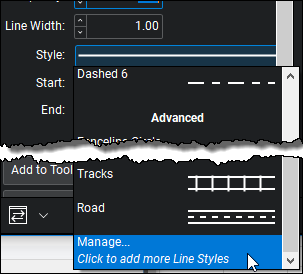
Either method opens the Manage Line Style Sets dialog.

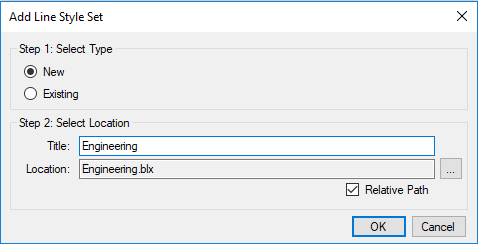
- Select Add. The Add Line Style Set dialog appears.
-
Select New, then enter Engineering in the Title field.
-
Select OK. The Edit Line Style Set dialog appears.

-
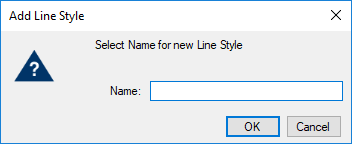
Select Add. The Add Line Style dialog appears.
-
Enter Electrical Pulse in the Name field and select OK. The Line Style Editor appears.
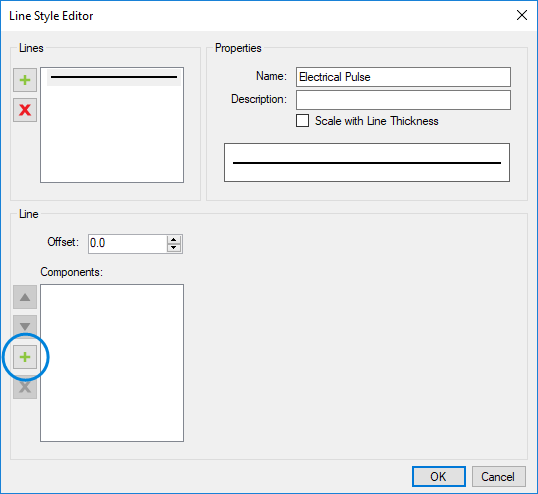
- Select
 to the left of the Components list (the one circled above). The Add Component dialog appears.
 -
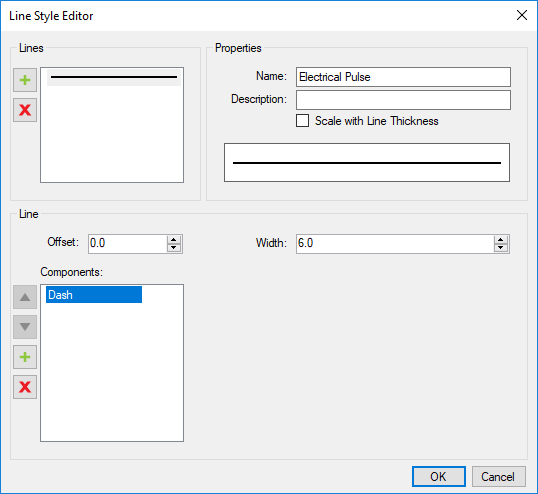
Select Dash from the Type menu and select OK.

- The Add Component dialog closes and Dash is listed under Components in the Line Style Editor.
Select Dash and change the Width to 6.0.
-
Select
to the left of the Components list again and add a Text component.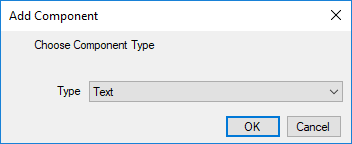
- Select OK. The Add Component dialog closes and Text is listed under Components in the Line Style Editor.
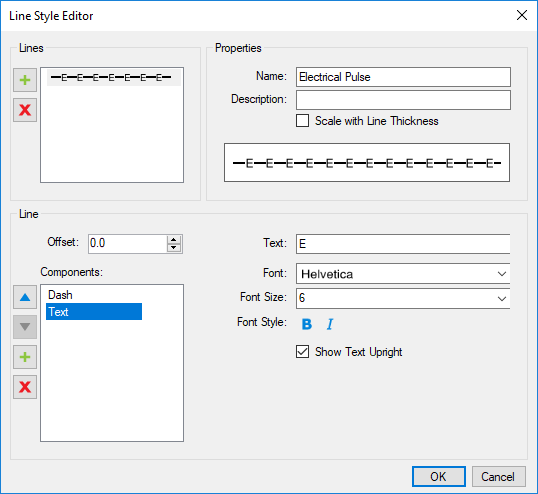
- Select Text and change the following:
- In the Text field, enter an E.
- Set the Font Size to 6.
-
Select OK. The Line Style Editor closes and Electrical Pulse is shown as a line style in our Engineering line style set.

-
Select OK twice to get back to the main workspace. You should now have an Electrical Pulse line style available from the Style menu on the Properties Toolbar, Line Style toolbar, and the Properties panel.