Get Started in Bluebeam Cloud
Welcome
Included with your Revu 21 subscription, Bluebeam Cloud is a suite of web and mobile solutions for AEC collaboration in the field. Available via app or browser, Bluebeam Cloud gives you access to markup tools and workflows such as punch, RFIs, and submittals with a single login.
To get started, create a Bluebeam ID (BBID) and log in. No installation is required.
For more information about compatibility requirements and available integrations, visit this article. Also, Revu 21 subscribers get access to Bluebeam University. Create and/or log into your BBU account to access our Welcome to Bluebeam Cloud course.
Overview
This guide covers the basics for getting started in Bluebeam Cloud. To learn more about the features available via mobile apps and web browsers, check out this article. If you’re ready to get started in Bluebeam Cloud, click here.
My Workspace
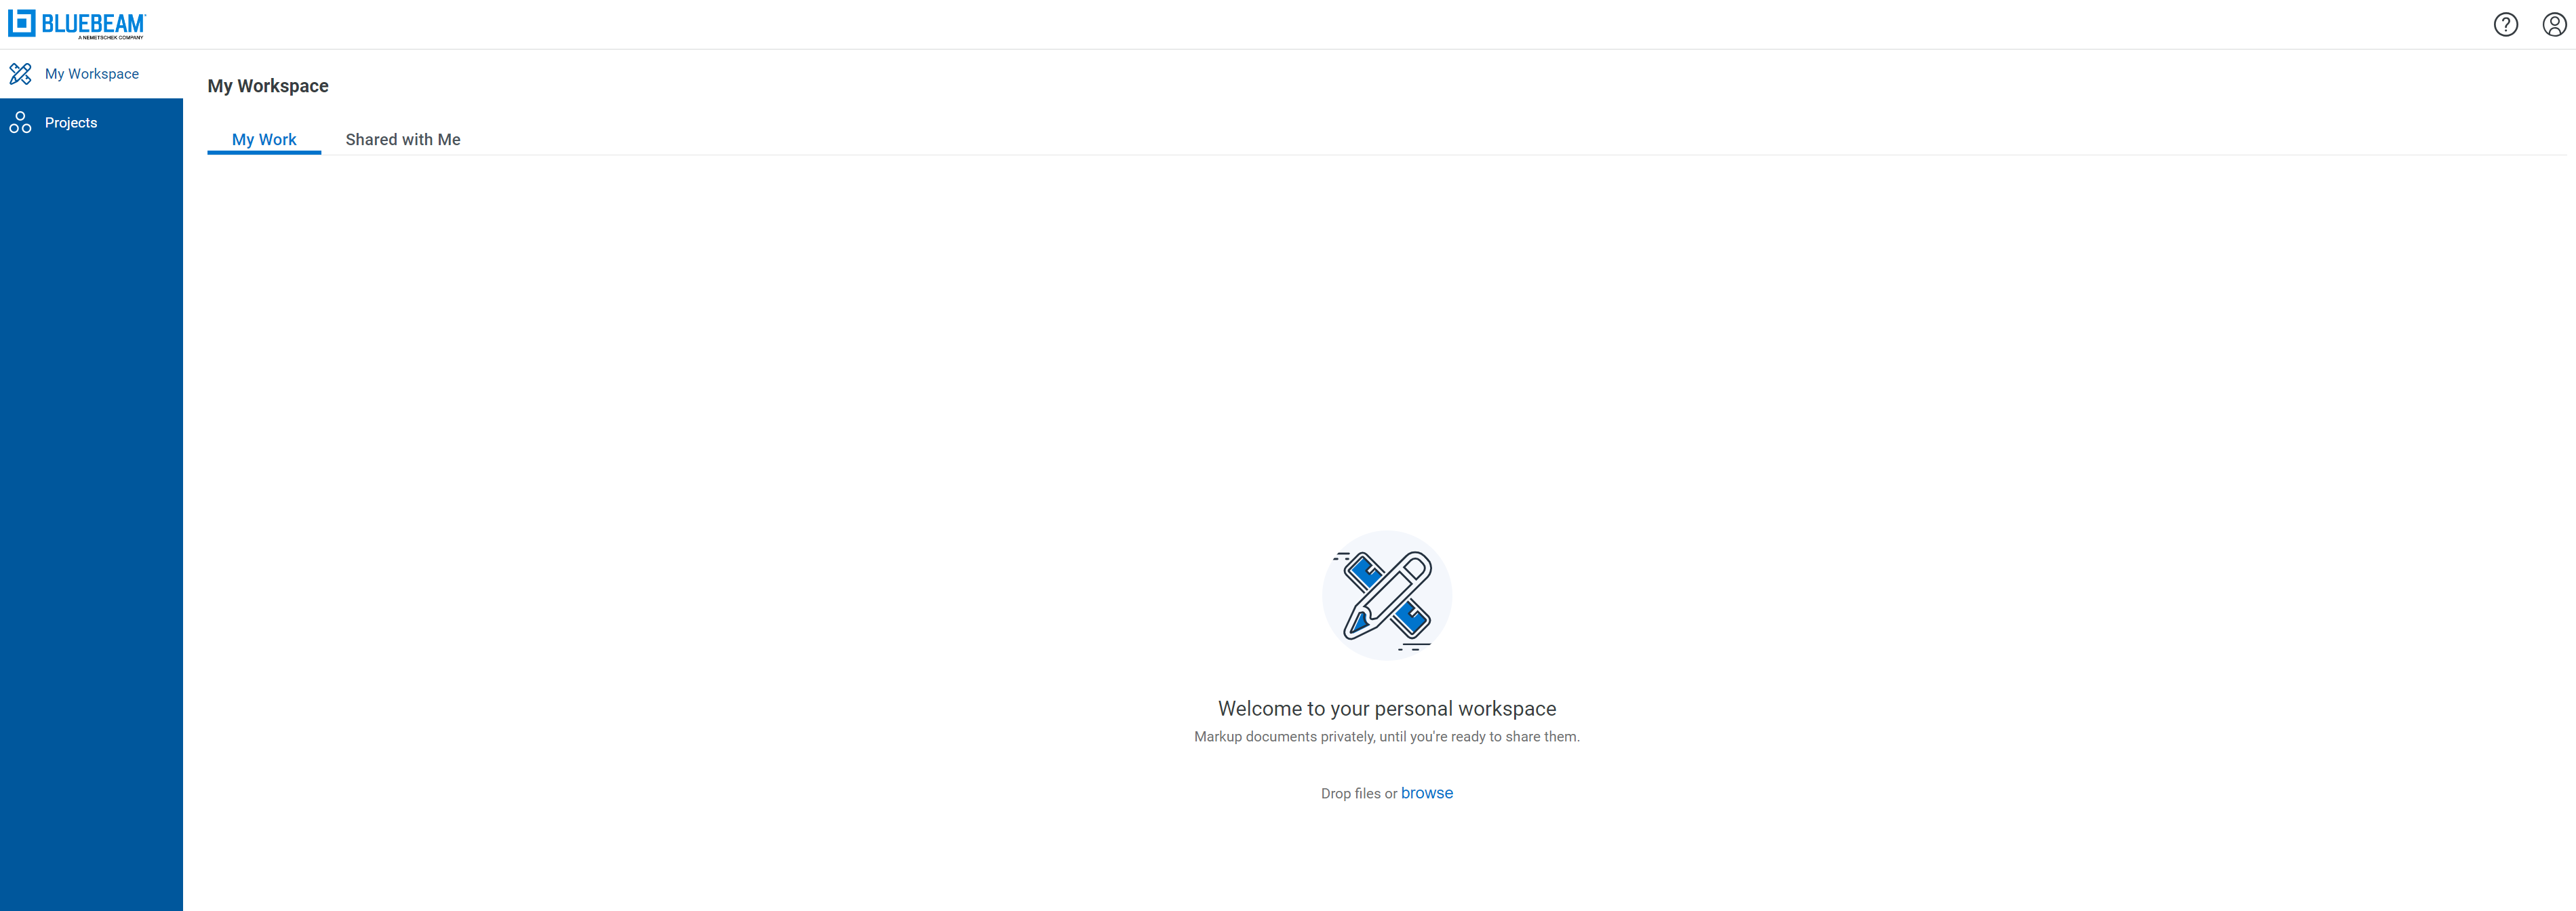
When you first log into Bluebeam Cloud, you’ll see My Workspace. Here, you can store, mark up, and share PDF drawings separately from any collaborative projects you’ve joined.
Projects
To collaborate on drawings, select Projects in the left sidebar. If you’ve already accepted an invitation for a Bluebeam Cloud project, you can select it on the Projects page.
You must have an active Core or Complete subscription plan and Admin permissions to start a new project in Bluebeam Cloud. To learn more about how to set up a project, click here.
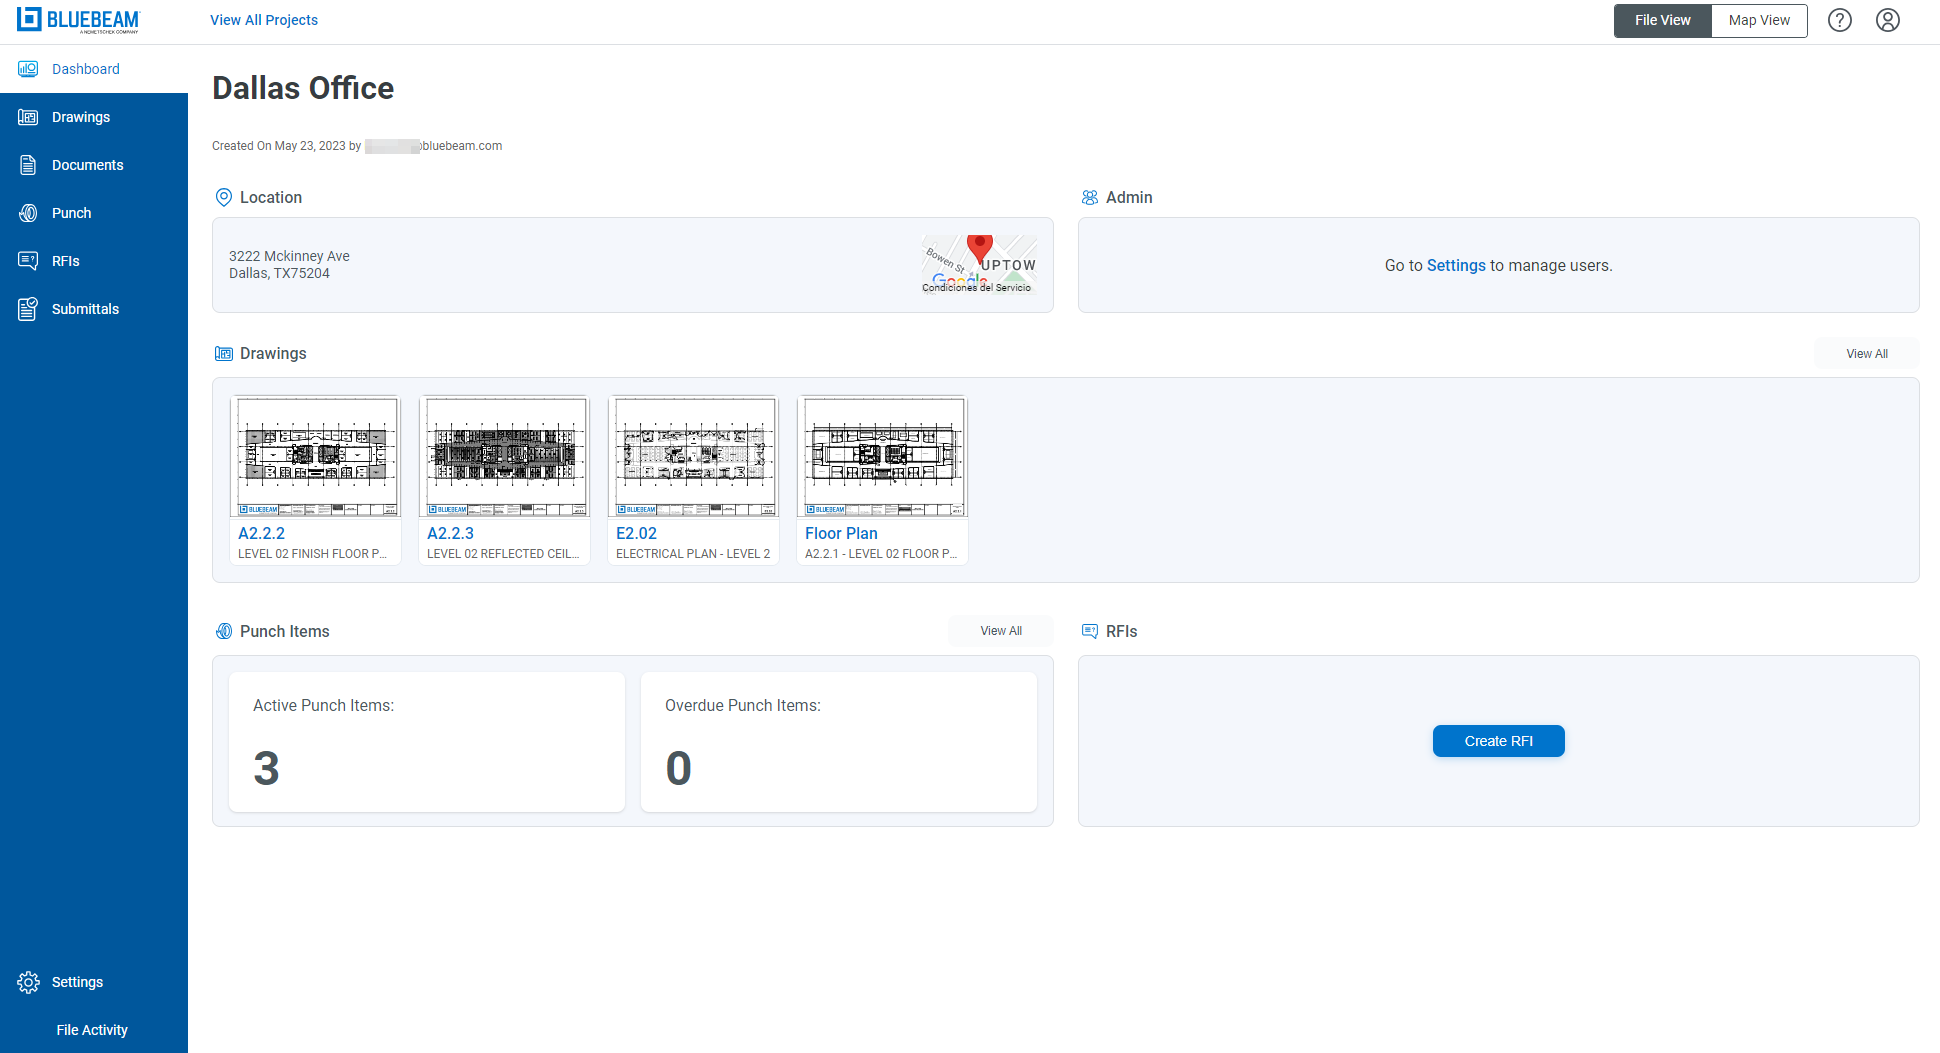
After you select a project, you’ll be taken to its Dashboard:
Drawings + Documents
Bluebeam Cloud allows you to upload PDFs in the Drawings or
Documents tabs to utilize cloud storage for collaboration and project management.
Drawings
Use the Drawings tab to share PDF drawings across your team and complete workflows such as design review, punch, and RFIs. To open a drawing, click or tap its thumbnail.

If you created a project or were added to a project with Admin permissions, you can edit drawing information by selecting the check box in the upper left corner of a thumbnail. Select Edit to specify a discipline for the drawing, change the issued date, and/or add a revision comment.
If you’re an Admin, you can add drawings to your project. After adding a drawing, you’ll be taken to the Uploads tab as it processes. When ready, select Ready for Review and press Publish in the upper right corner.

For more information about preparing your drawings in Revu before uploading them to a Bluebeam Cloud project, check out this article.
Documents
Use the Documents tab to store PDFs and make them easily accessible across your team. Here, you can upload individual files or folders. You can also create new folders for organizing your cloud storage.

In Documents, you have access to markup tools and comments after opening a PDF. However, when you open a file in
Drawings, you get access to additional workflows such as punch and RFIs.
Markup Editor
Once you open a PDF in Documents or
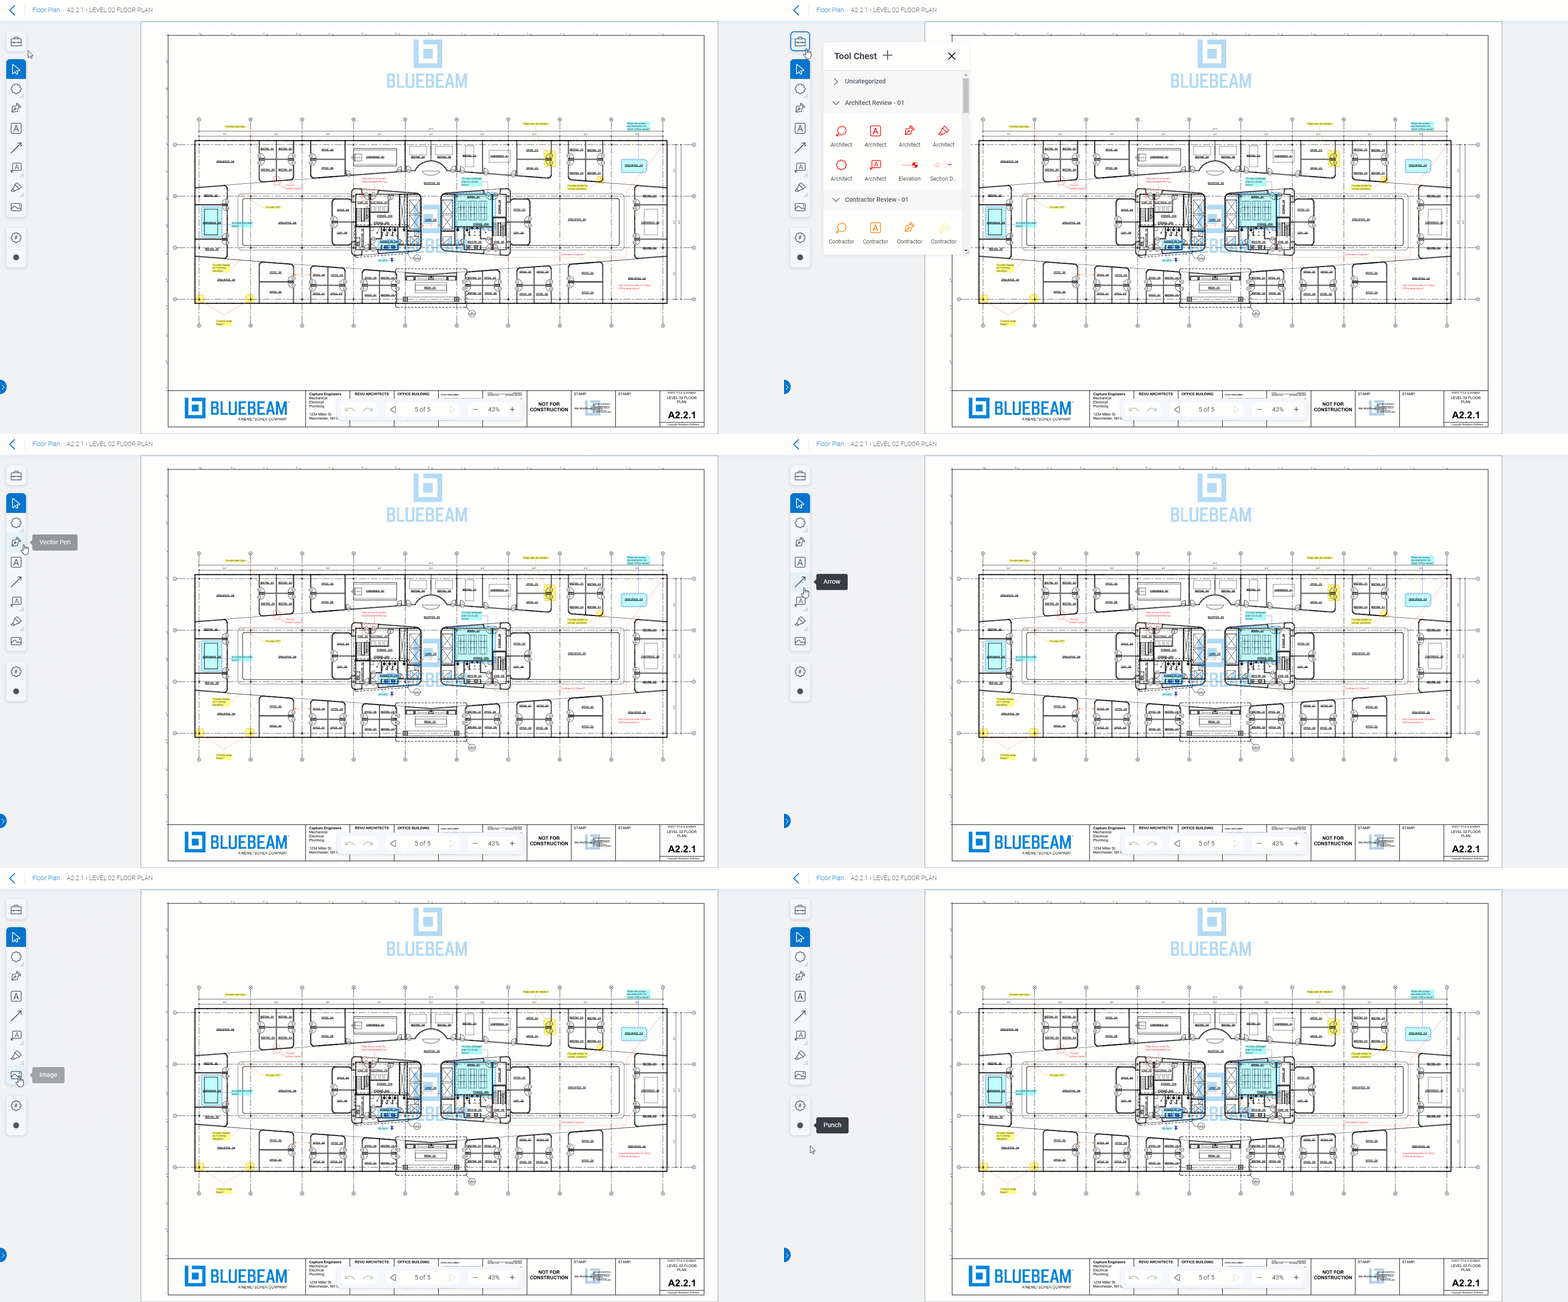
Drawings, you’ll be taken to the Markup Editor, which includes commonly used markup tools and the
Tool Chest. Additionally, you can place punch items and post RFIs on a published PDF in
Drawings.
Did you know you can import your tool sets from Revu 21 into Bluebeam Cloud? For more information, visit this article.
If you upload a drawing that’s already been marked up in Revu or Studio, certain markups may be unsupported or only partially supported. To learn more, see Markup compatibility in Bluebeam Cloud.
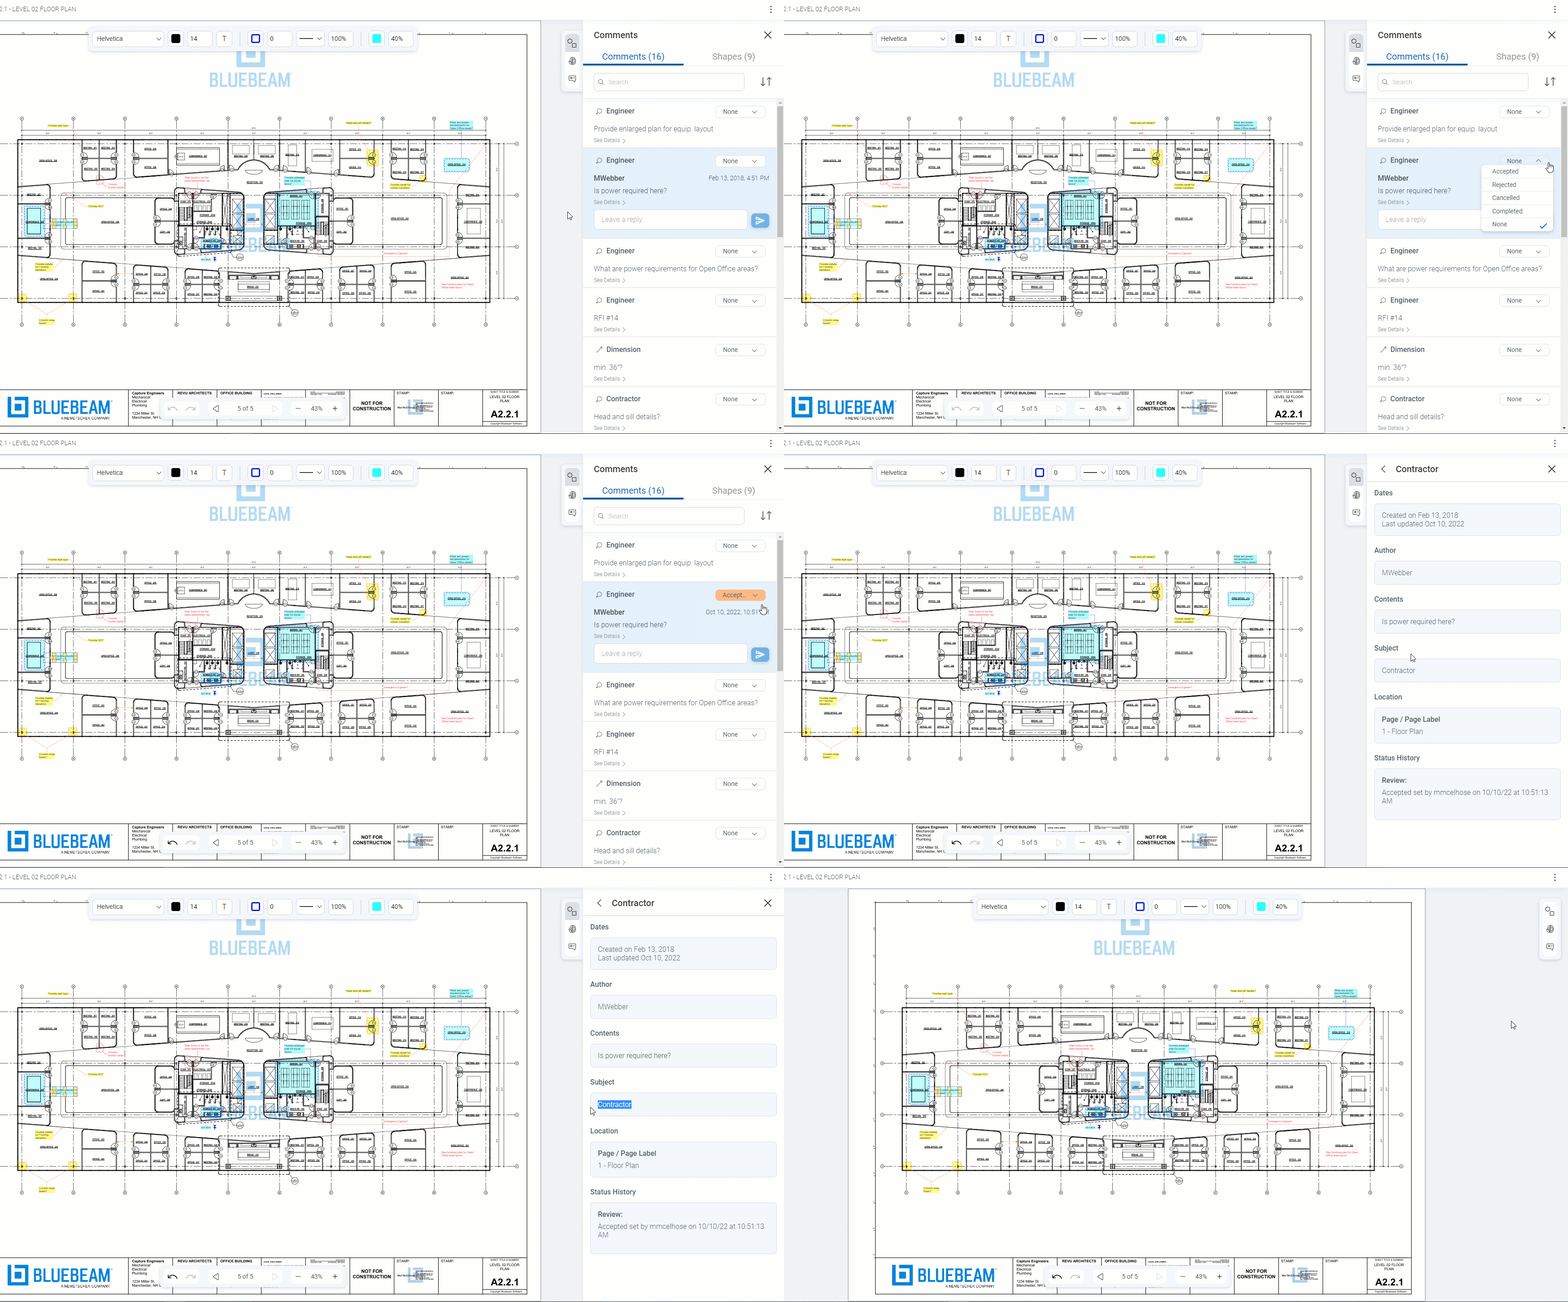
Comments + Shapes
After opening a PDF in either Drawings or
Documents, you can also post or respond to comments. Just select
Comments and Shapes in the upper right corner of the window.
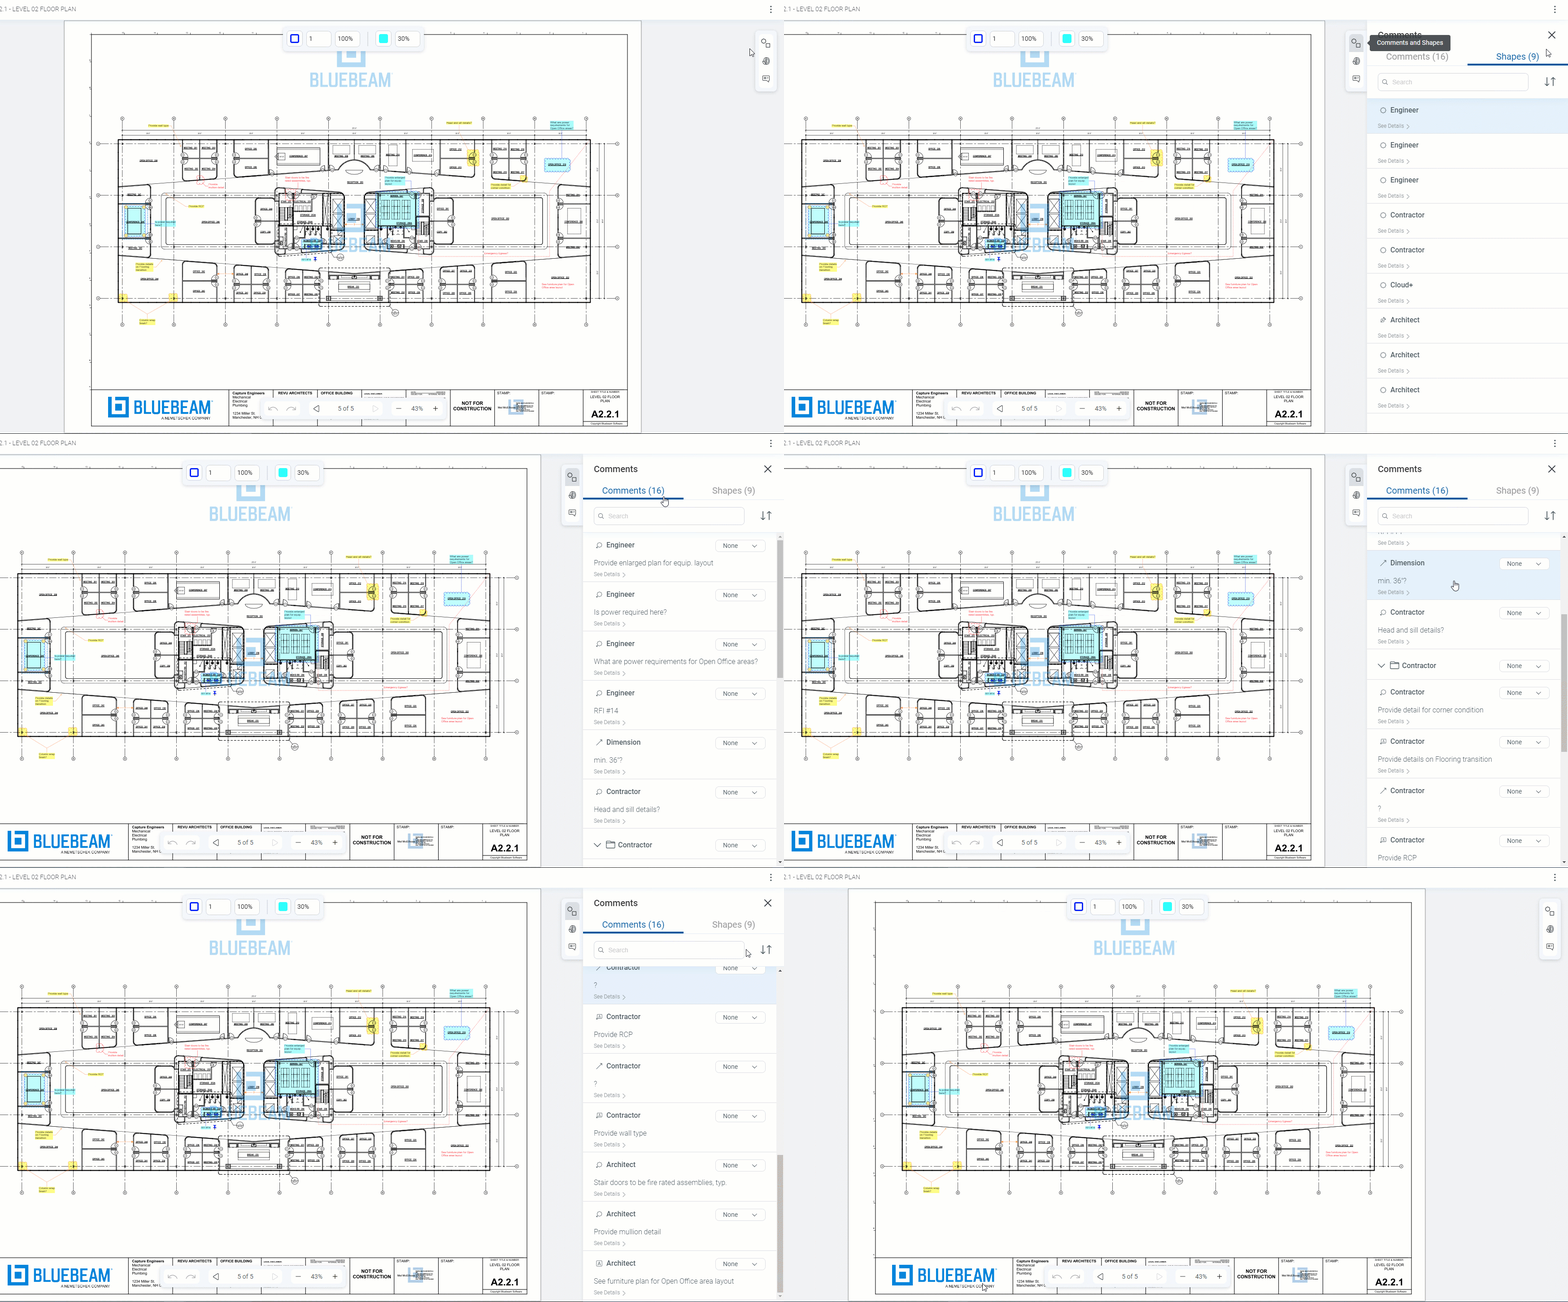
If a status and/or subject for a markup has been previously set in the Markups List in Revu or Studio, it will appear in
Comments and Shapes when the PDF is uploaded to Bluebeam Cloud.
Punch
In addition to markup tools and comments, Bluebeam Cloud supports project workflows that can be carried out on the job site, such as punch.
To place punch items on a published drawing, you must have a Bluebeam Plan and Member/Admin permissions.
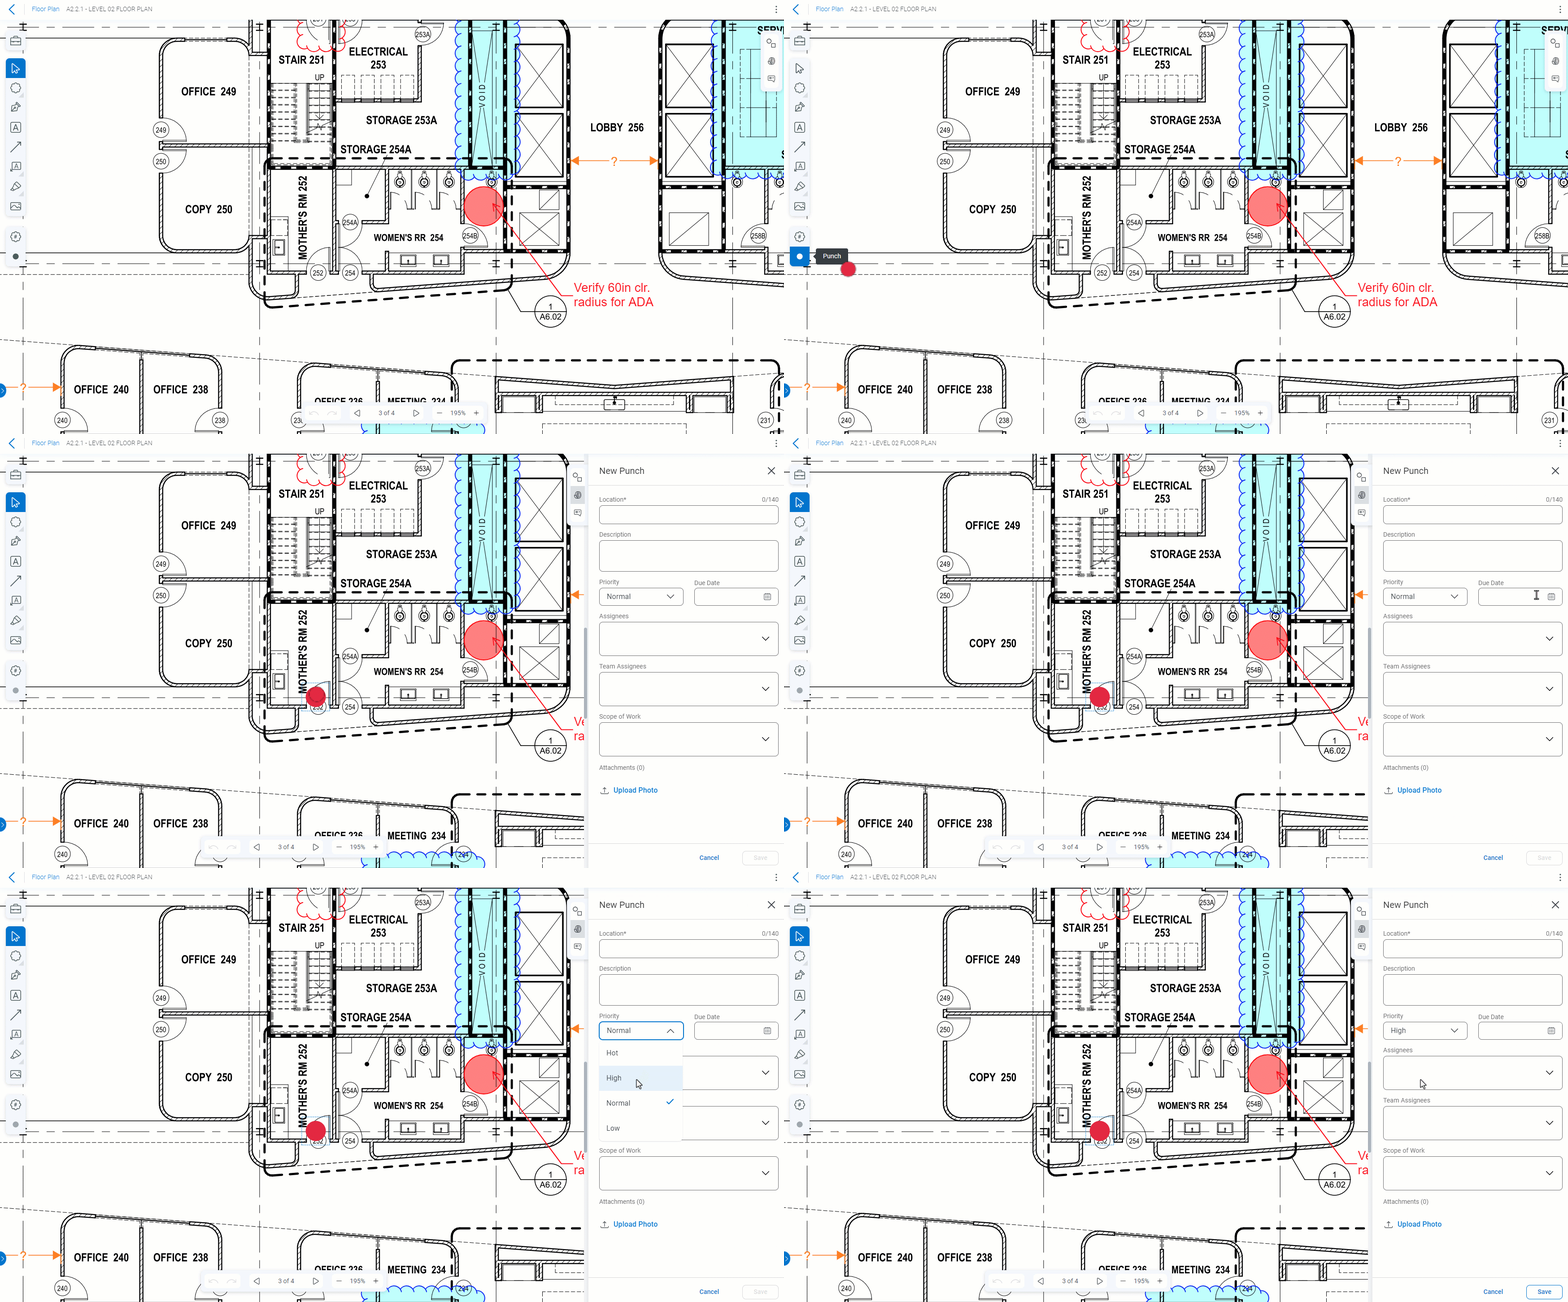
To see a list of all punch items, return to Drawings or the
Dashboard and select
Punch in the left sidebar. From here, you can add a new punch item, export all punches, and/or assign statuses for existing punches. After you place a punch on a drawing, its default status is Open.
RFIs
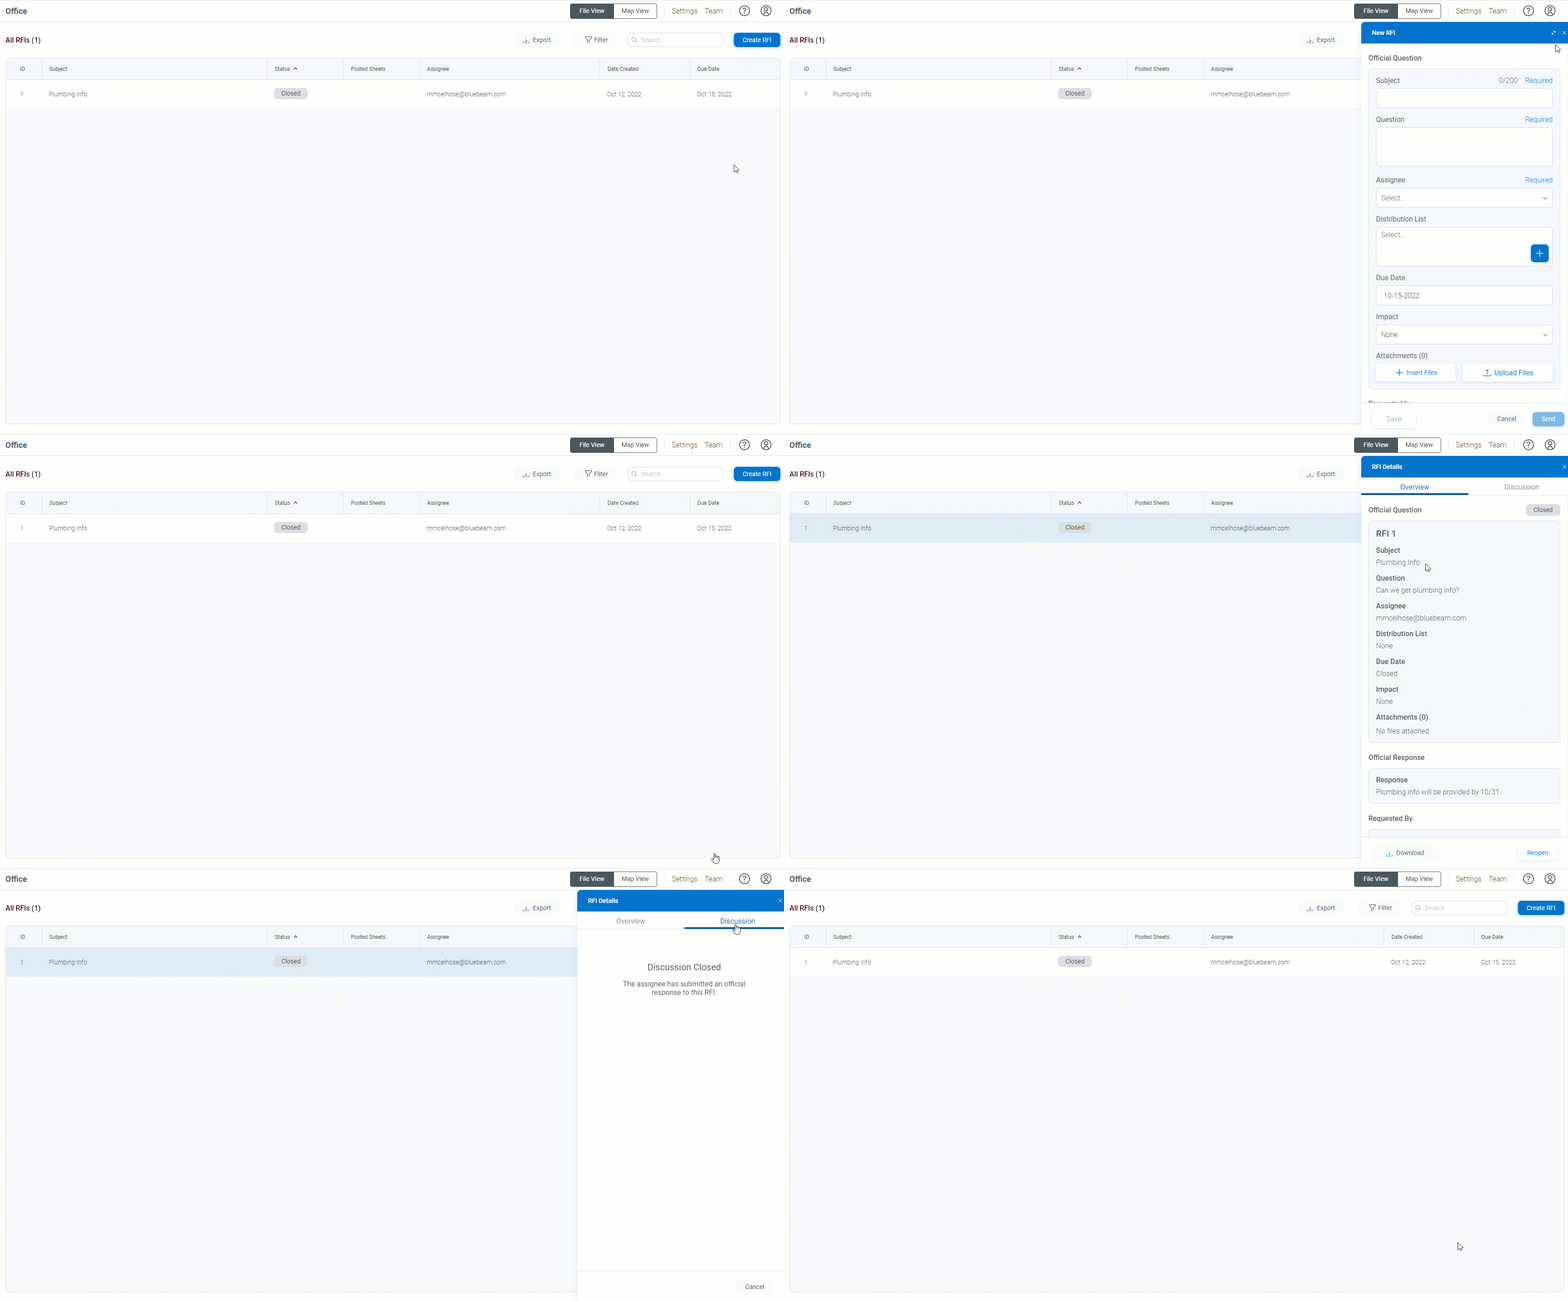
In Bluebeam Cloud, you can also track and post RFIs. To get started, select RFIs in the left sidebar.
Select Create RFI to pose an official question. RFIs include a Discussion tab for back-and-forth communication. However, once the RFI receives an official response, its status and discussion become Closed.
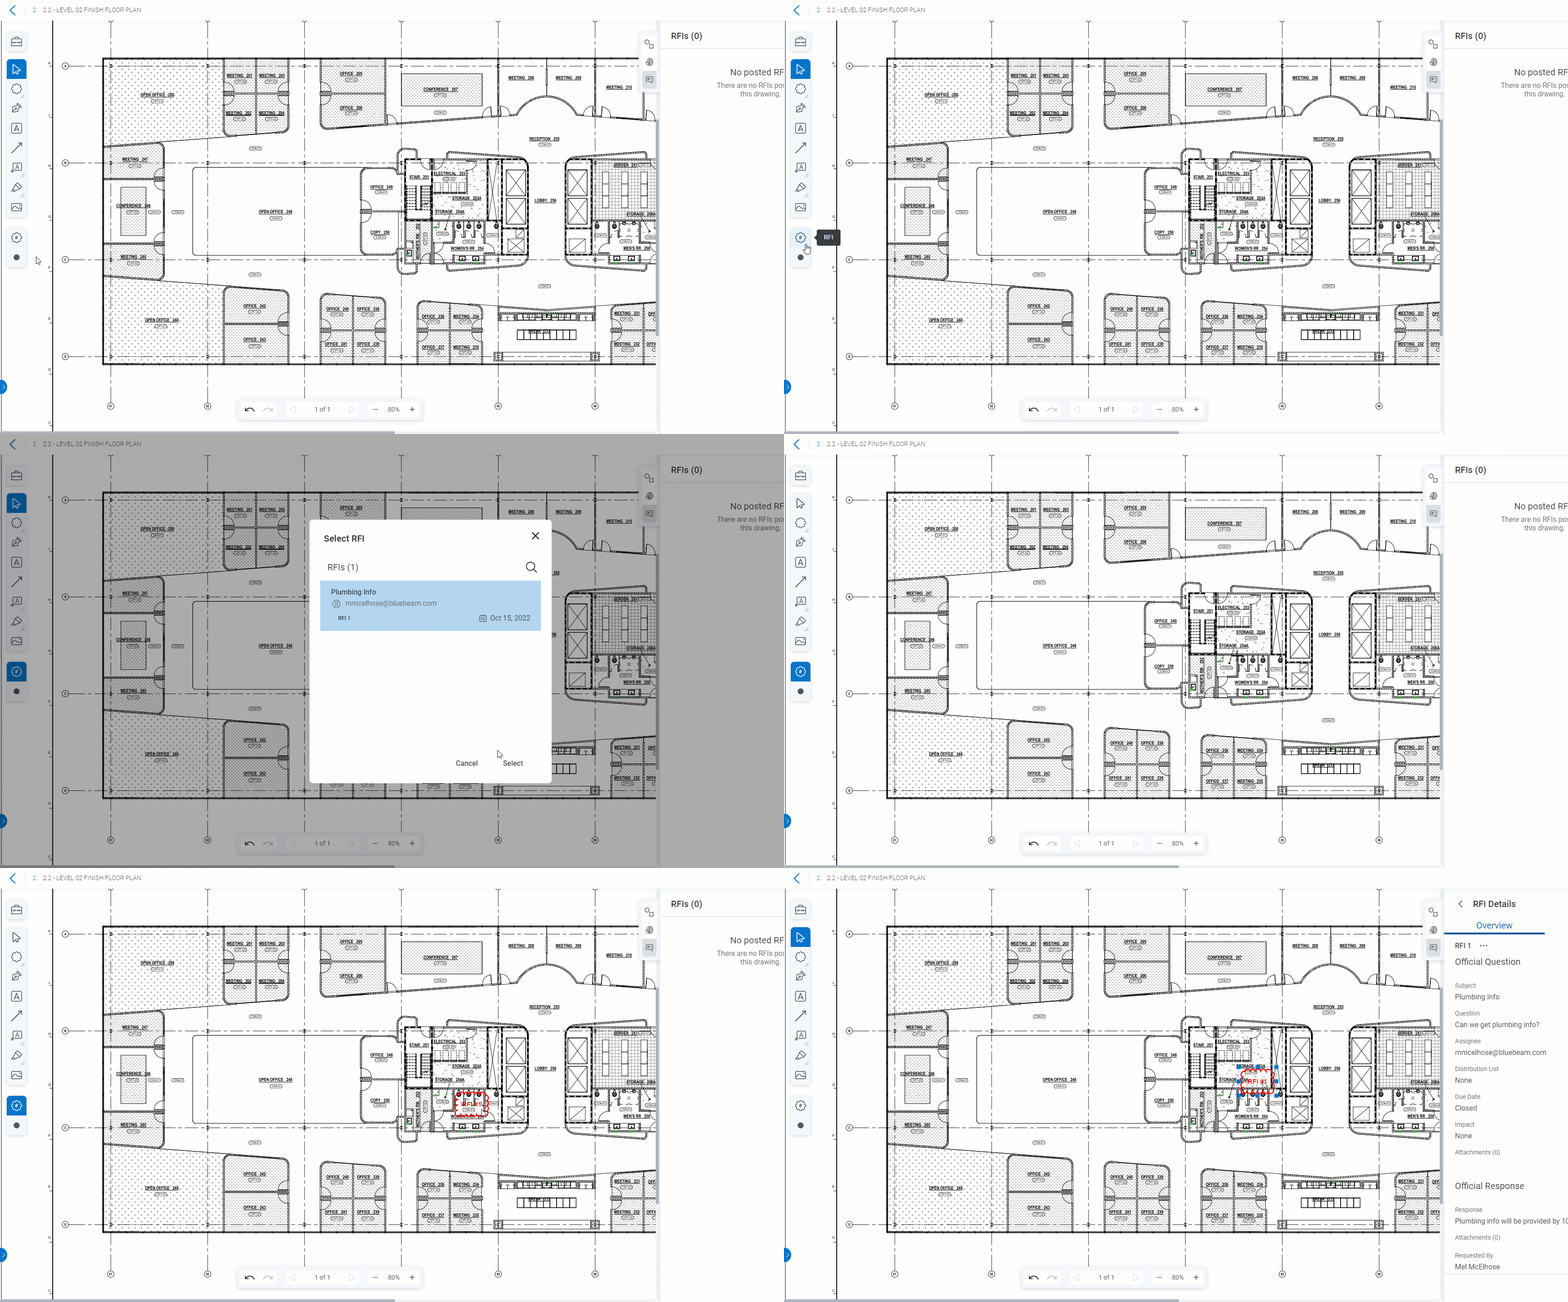
Closed RFIs with official responses can be posted on published PDFs in Drawings.
Submittals
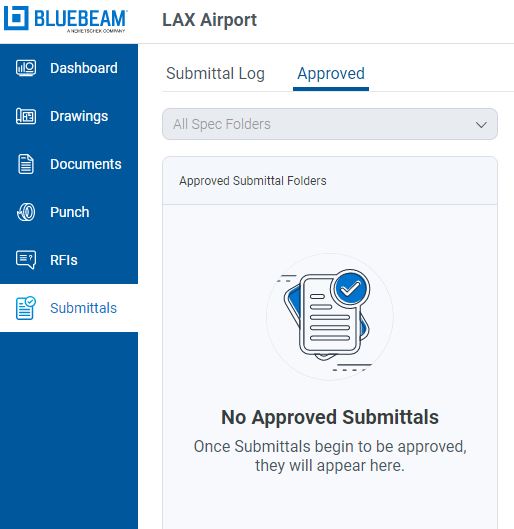
You can also log, approve, and export submittals, making spec information readily available for all project stakeholders on the cloud.
In Submittals, you can add a new submittal manually or upload a submittal log using the Bluebeam Cloud Submittals Log Template provided after selecting Upload.
Once approved, your submittals will appear in the Approved tab.
Map View
You must have a Complete subscription plan and Member/Admin permissions to use Map View in Bluebeam Cloud.
Within a Bluebeam Cloud project, you can switch from File View to Map View. This allows you to place a published drawing on a map for geolocational insights.
To get started, select Map View in the Dashboard. To place a drawing, follow these steps:
- Select Create Layer.
- Choose a drawing to place on the map.
- Set the drawing scale.
- Crop the drawing (if needed).
- Place the drawing on the map.
- Select Save.
Now you’re ready to start collaborating in Bluebeam Cloud. For more information about which Bluebeam Cloud features are available for each subscription plan (and Read-only users), visit this article.
Bluebeam Cloud
How-To
Getting Started
