Getting Around the Interface
Revu's interface is largely driven by a menu bar as well as
There are several key elements to the application layout. Hover over the links below to highlight the relevant area in the image or click for a description of the element.
Menu Bar: Located at the top of the application, the Menu Bar organizes access to tools and functions into a few, intuitive categories: Revu (tools for managing the usage of the application), File (tools for creating, opening, saving, exporting, printing PDFs and more), Edit (tools pertaining to object and text manipulation), View (tools for controlling the look and behavior of the workspace), Document (tools for manipulating PDFs),
Properties Toolbar: A specialized toolbar located below the Menu Bar, the Properties Toolbar is dynamic in nature and the information it shows depends entirely on what is active in Revu at the moment.
Main Workspace: Comprising the bulk of the application's interface, this is where PDFs, WebTabs, Studio Projects, and so on are shown.
Toolbars: Configurable collections of tools that can be used to customize the application to suit your needs and workflows.
Panel Access Bar: Similar to toolbars, panel access bars contain icons for opening panels. These can be configured to automatically hide when not in used to increase the size of the main workspace.
 Side Panels: Vertical pull-outs located at the right and left of the application dedicated to showing panels.
Bottom Panel: Horizontal pull-out located at the bottom of the application used for showing panels.
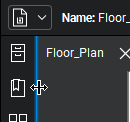
Tip: Side and bottom panels can be hidden/revealed by clicking on their edges. When the mouse moves over one of these edges, the edge lights up and the mouse cursor changes to one with a double-arrow. Click the edge to slide the panel open or closed.
Navigation Bar: A specialized toolbar located between the main workspace and the bottom panel, the navigation bar enables efficient movement between pages and views in the main workspace.
Status Bar: A specialized toolbar located at the bottom of the application, the status bar includes tools related to snap controls, markup reuse, and view synchronization as well as showing the size of the active PDF and the coordinates of the mouse cursor.
Right-click on any tab to access a context menu. You can use this menu to Show other Tabs, Hide the current tab or Attach the current tab to another location by selecting one of the options. The Show option reveals a list of available tabs. The Attach submenu reveals the three panel locations (Left, Right, and Bottom) and the option to Detach and float over the workspace.
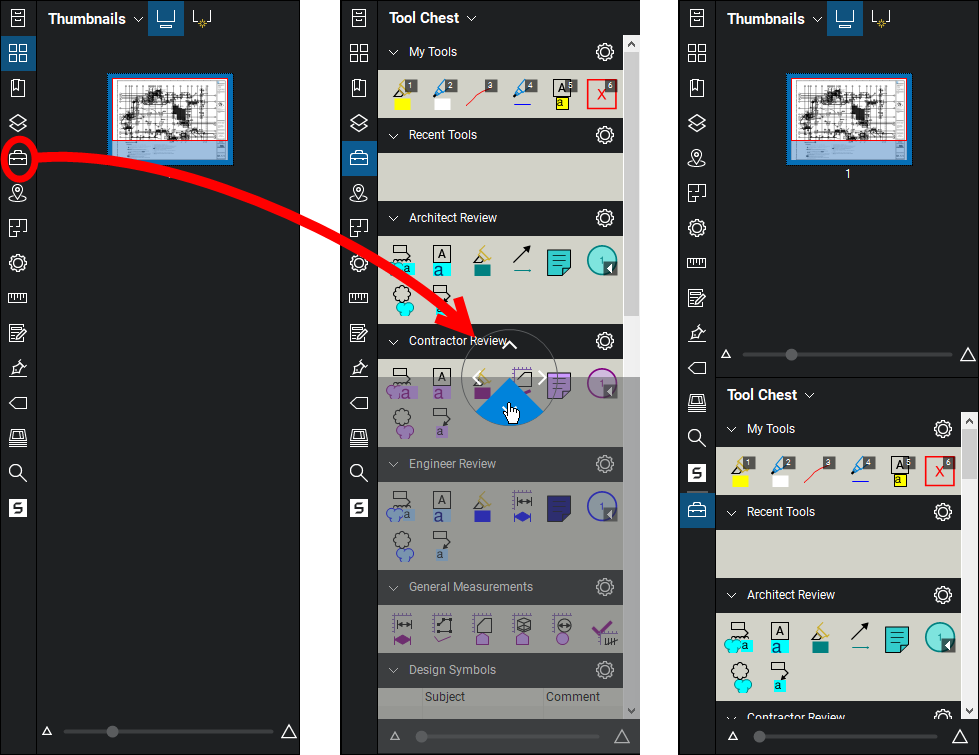
Panels can be split into multiple areas to allow accessing multiple tabs in the same panel at the same time. This maximizes the usable space in the panels.
- Click the icon of the tab you wish to move and drag it into the panel until the Position Wheel appears.
- Drag the tab over the area of the Position Wheel corresponding to the section of the panel where you want the tab to go, and release.
In the following example, the Tool Chest is dragged below the thumbnail view so that both tabs may be shown at once. Use the Position Wheel to define other placements, such as side-by-side or above, in addition to the below setting shown.

The configuration of the workspace is saved so that the next time a session of Revu is started, the layout will not have to be re-configured.
The bottom panel can overlay the left and right panels. Click the small arrows (  &
&  ) on the panel border to toggle this setting. Expanding in this manner enables more columns to be displayed in the Markups list.