Use the Snapshot tool to create an enlarged drawing
Applies to:
- Revu 20
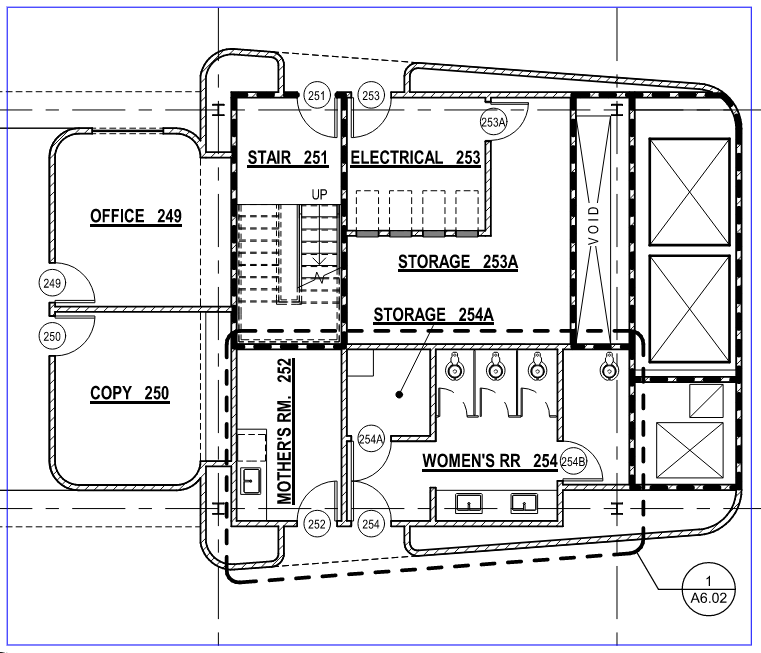
When you need to create an enlarged plan from an original drawing for more detailed markups or sketches, you can do this quickly in Revu. In this article, we'll go over how to enlarge an area of your drawing using the Snapshot tool to create a detailed plan.
- In Revu, open the drawing with the area you'd like to convert into an enlarged plan.
- Go to Edit >
 Snapshot (G).
 - Click-and-drag around the area to capture the snapshot. The area will be outlined in blue.
- Copy the snapshot to the clipboard by pressing Ctrl+C.
- Open a new blank PDF in Revu or select a template with your title block from File > New PDF from Template...For more information, see How to save and create title block templates.
- Paste the snapshot of the area onto the new PDF by pressing Ctrl+V.
- Expand the size of the snapshot using the yellow control points.
- Next, you'll want to flatten the new drawing before sketching or marking it up. Go to Document >
 Flatten (Ctrl+Shift+M).
 - Select your preferences from the Flatten Markups dialog box and click Flatten.
Now, you have an enlarged drawing to create a more detailed plan for your project. You can also create custom markups using the Snapshot tool. For more information, see this article.
How-To
Revu 20
Tips & Tricks
PDF Management
Drawing Management
Learn how to create an enlarged drawing complete with your title block template directly in Revu.