
This article applies to:
- Revu 21 & Below
A Revu Profile lets you easily customize and access your favorite display settings, tool sets in the Tool Chest, Custom Statuses, and Custom Columns. A Profile doesn’t contain the information stored in the UserPreferences.xml file, Stamps, or Templates. If you’re new to Profiles in Revu, see Introduction to Profiles.
Before you create a new Profile
If you want to create a new Profile for the latest version of Revu, you use the same version as the Profile. For example, if you intend to create a Revu 21 Profile, you should create the Profile in Revu 21 and ensure that all updates are current. Visit our Download Center to download the latest version of Revu.
To install earlier versions of Revu, go to the Download Archive.
To ensure that no other Profile settings are carried over to your new Profile (which could cause compatibility issues when migrating between Revu versions), it’s best to restore Revu to its default settings.
To reset Revu to its default settings, go to Revu > Preferences > Admin > Reset. For a walkthrough of this process, see Backing up, resetting & restoring your Revu preferences, tool sets & Profiles.
Here are some best practices when creating a new profile:
- Work on one Profile at a time: When creating a new Profile, it’s important to keep the environment as organized as possible. Importing another Profile while you work on a new Profile can lead to issues, some of which are described below.
- Save your work: To save your current work, go to Revu > Profiles > Save Profile. Changes made to a Profile are not automatically saved. It’s a good idea to regularly save and export your Profile by date, this way you can keep track of your work and restore previous iterations if you need them.
Profile Creation and Validation
Name your Profile and Tool Chests
It’s important to give your Profiles and Tool Chests unique names to avoid confusion with earlier revisions already present in Revu.
You should give your Profile a name that indicates the current version of that Profile. Using the current year or an ascending version indicator (for example, version-1.0, version-2.0) will help you keep track of your Profiles. This will save you time and effort when creating a new version of that Profile for future Revu releases.
We recommend assigning a unique name to your Tool Chests and tool sets based on the version of the Profile you’re creating. If a new version of a Profile is distributed to a user with an older instance of that Profile, and the tool set and Tool Chest names haven’t changed, the user will be prompted to overwrite their current tool sets with the versions contained in the new Profile. This becomes problematic, because whether or not the user chooses to overwrite their current tool sets, they won’t be able to determine which version of tool sets they’re using when troubleshooting.
Tool chest
When creating Tool Chests, be aware that all image elements retain their original file size, which increases the overall file size of the Tool Chest. We recommend using vectorized content when creating symbols and tools in the Tool Chest. Vectorized content requires less space and is of higher quality, which allows the content to be scaled without image deterioration.
Custom Columns
Go to ![]() Markups List > Columns > Manage Columns to save Custom Columns.
Markups List > Columns > Manage Columns to save Custom Columns.
You can also use the Manage Columns menu to import and export Custom Columns in XML format. Remember to use unique names and values when importing Custom Columns.
To avoid possible duplicate columns, edit the XML you want to import into Revu and omit any Custom Columns already present in Revu or within other Custom Column XML files.
To learn more about Custom Columns, see Managing and Creating Columns in the Markups List.
How to export the Profile
A Revu Profile (.bpx) is stored in XML format and can be read in a normal text editor. Accessing the XML data is helpful when comparing, validating, or even editing a Profile directly.
You can also create a unique Profile name, as mentioned above, by accessing the XML data and editing the name of the Profile stored under the “Name” tag:
<?xml version="1.0" encoding="utf-8"?>

<RevuProfile Version="1" Name="Revu Advanced">

  <Record Key="Bookmarks">

    <TemplatePercent>0.25</TemplatePercent>

    <TemplateCollapsed>False</TemplateCollapsed>

  </Record>
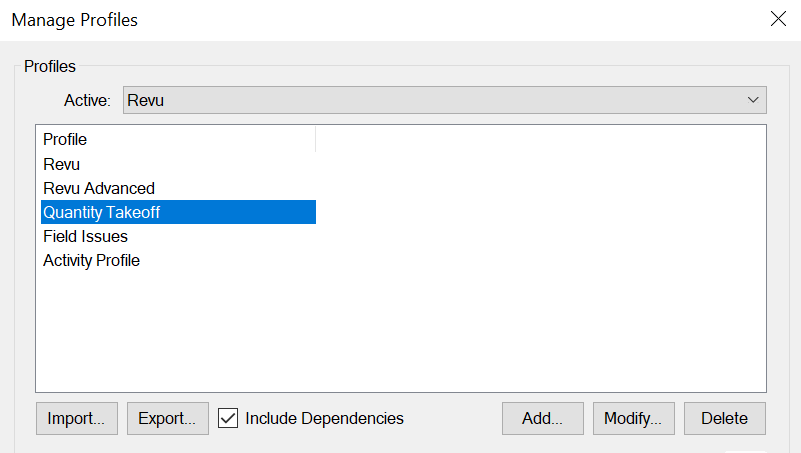
When you’re ready to export your Profile, select Export… in the Manage Profiles dialog. Remember to select Include dependencies if you want to attach any Tool Chests/Sets you created for your Profile.
You should export a ZIP file to keep as the source of your Profile. After you export the Profile, validate and choose a method for distributing the Profile.
How to validate your Profile
Before distribution, validate your Profile. Follow the steps below to ensure your Profile functions as expected:
- Reset Revu to its default settings.
- Import the new Profile into Revu.
- Create a new PDF within Revu.
- Place markups on the PDF and test your statuses and/or columns.
- Open a working PDF to test the Batch Link function.
- Upload a clean PDF with custom statuses applied to a Studio Session. Check that only your desired statuses have been applied throughout the document.
- Create a new PDF and test each tool in your Tool Chest to ensure proper functionality.
After validating your Profile, you can safely distribute your Profile.
How to distribute a Profile via Local storage
The default method for distributing a Profile is via a user’s local storage. The Revu Profile is sent in .bpx format, which automatically imports into Revu when opened. The Profile is copied into the users AppData folder (AppData\Roaming\Bluebeam Software\Revu\version number), where the Profile tools are unpacked and stored. Revu will then access this folder on launch to load any Profiles and Tool Chests stored in this location.
How to distribute a Profile via Network storage
Profiles can also be loaded from a network location.
For more information, see Using Shared Profiles on a Network Location.
How-To
Revu 21
Revu 20
Revu 2019
Revu 2018
Revu 2017 & Below
Printing