Applies to:
- Basics
- Core
- Complete
What’s new in Revu 21
With Revu 21, you have access to the same robust features as Revu 20 for PDF creation and editing on all your projects. You also gain the option to sync your Revu tool sets with Bluebeam Cloud, our new web/mobile solution.
Sign into Revu 21
After installing and launching Revu 21, sign in with your Bluebeam ID (BBID) to access the Revu features available with your Bluebeam Plan. For more information about creating a BBID, click here. If needed, you can still sign into Studio with a separate Bluebeam ID.
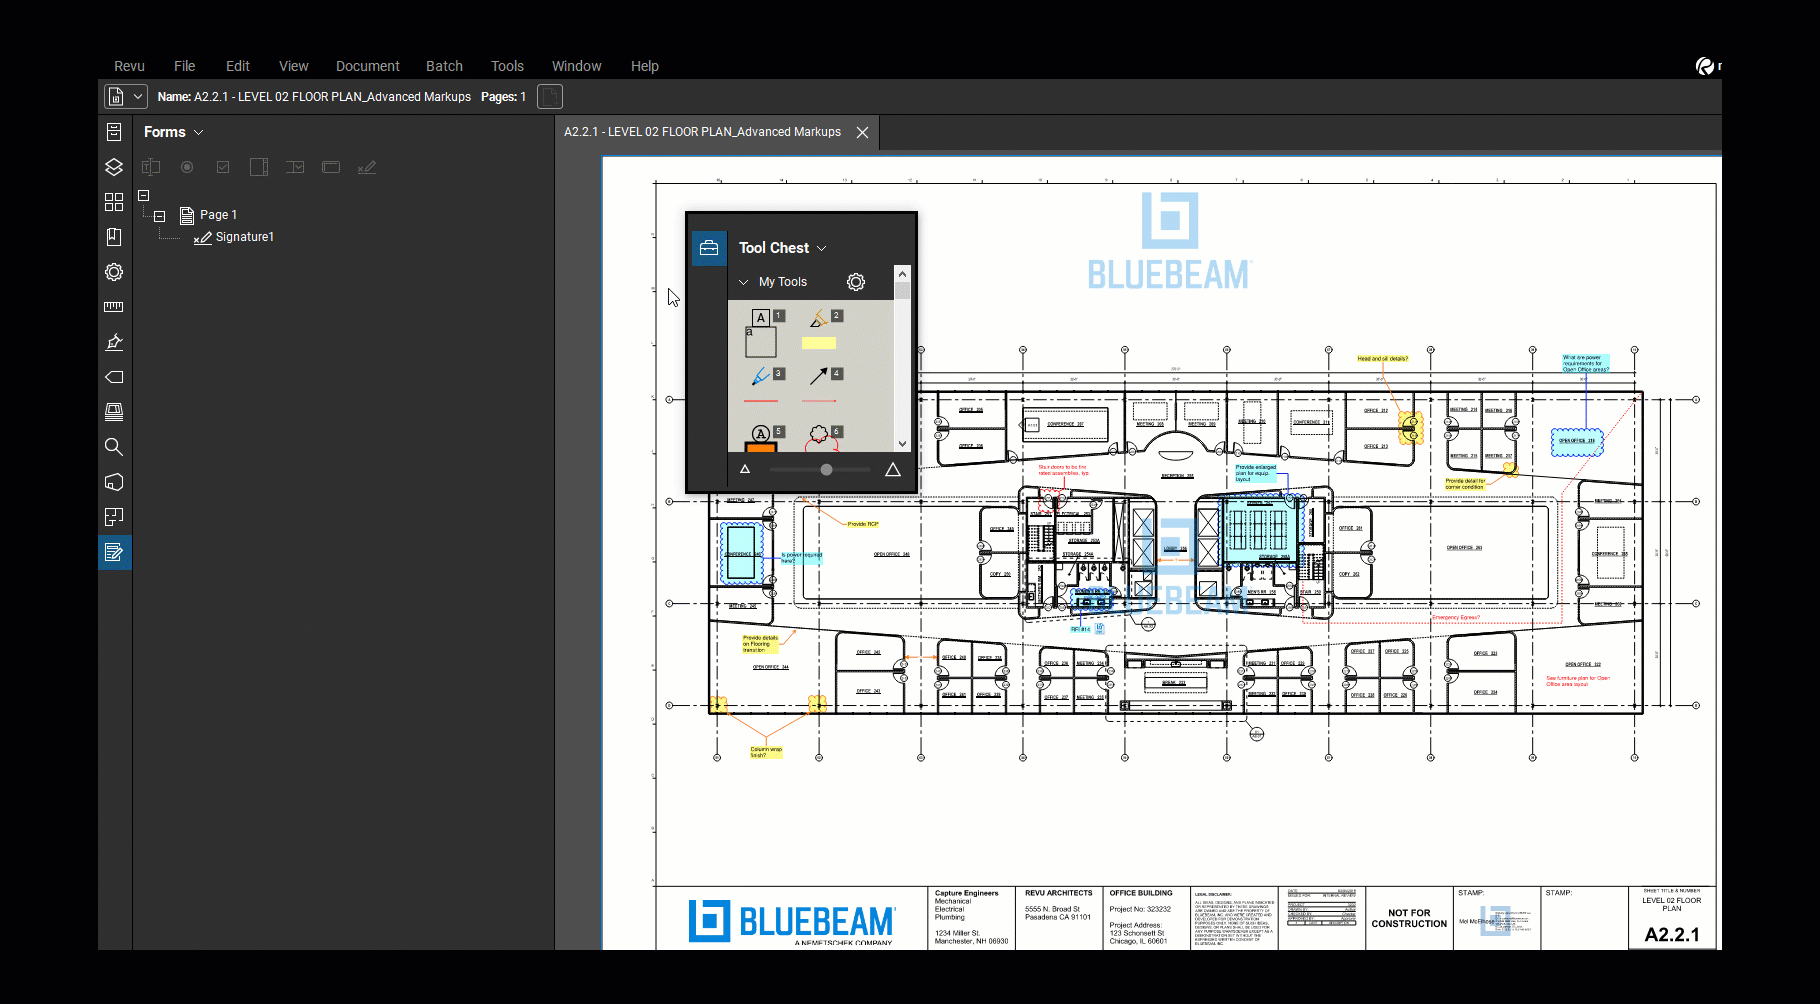
Send Tool Chest to Bluebeam Cloud
When you first sign into Revu 21, you’ll be prompted to send your tool sets to Bluebeam Cloud, so you can access your custom markups on-the-go. You can also access this feature later via the  Tool Chest. For more information, visit this article.
About the interface
In Revu 21, there are no major changes to the interface, and you can still customize your workspace to best suit your workflows just as in previous versions (i.e., Revu 20, Revu 2019, and Revu 2018). To learn more about elements of the interface, select from the options below.
Menu bar

Located at the top of the application, the Menu bar contains tools for the following categories:
- Revu (tools for managing the usage of the application)
- File (tools for creating, opening, saving, exporting, printing PDFs and more)
- Edit (tools pertaining to object and text manipulation)
- View (tools for controlling the look and behavior of the workspace)
- Document (tools for manipulating PDFs)
- Batch (tools that can be used on multiple PDFs at the same time)
- Tools (tools for working with annotations)
- Window (tools for controlling certain aspects of tabs, panels, and the main workspace)
- Help (provides links to help and other resources)
 Preferences or Ctrl+K).
Properties toolbar

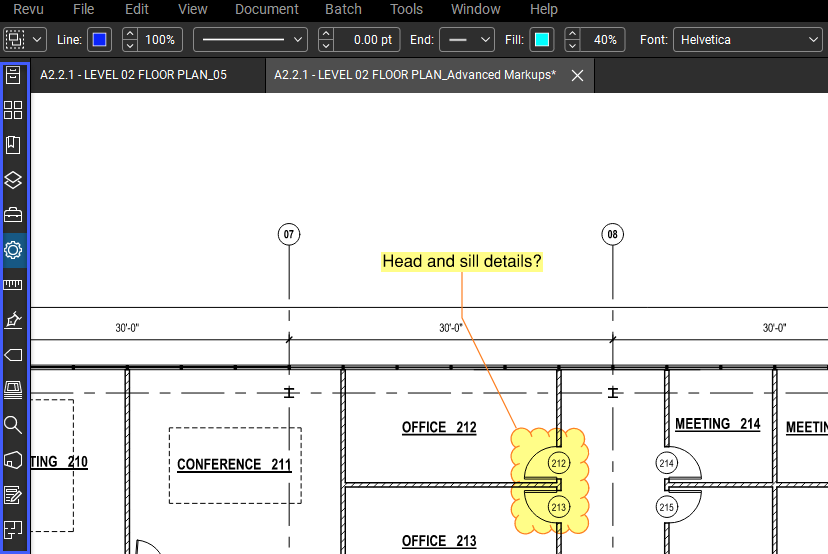
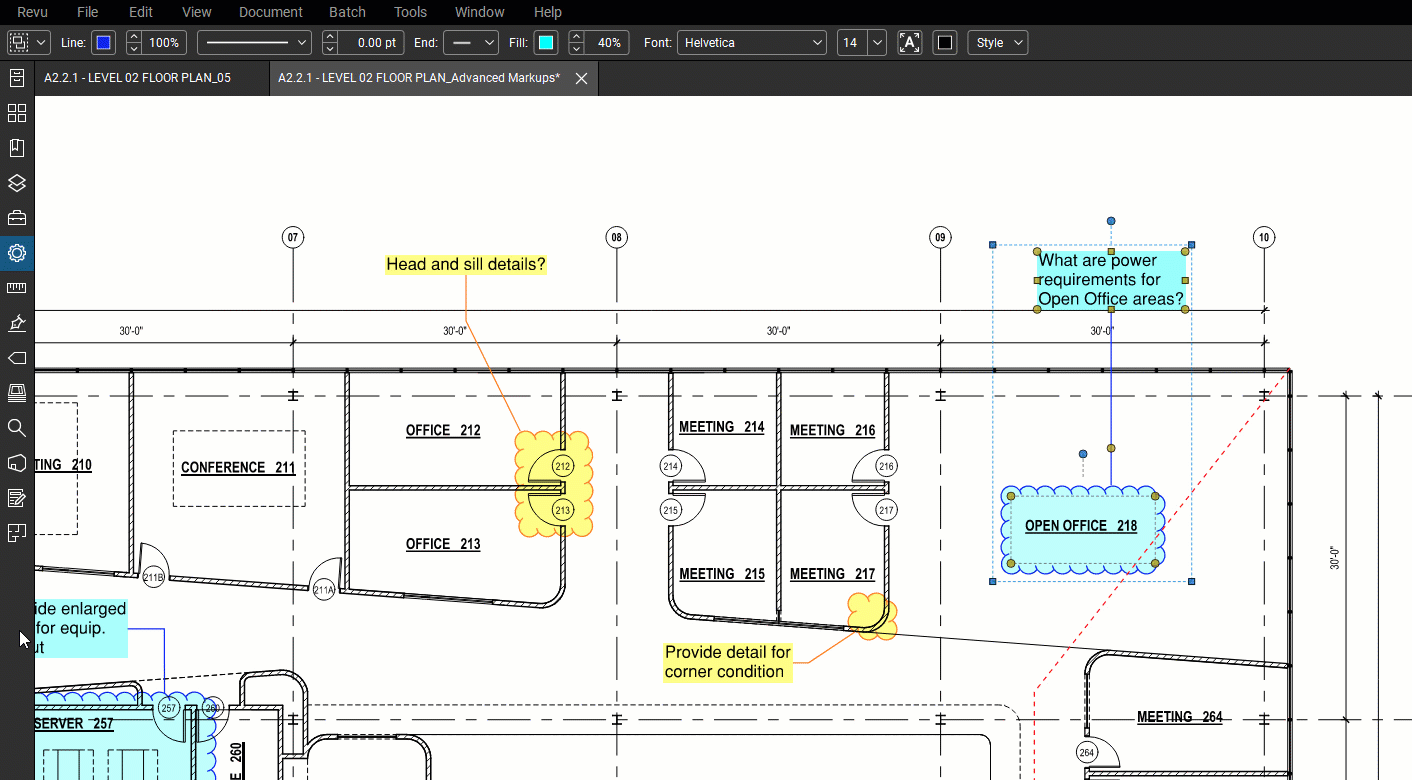
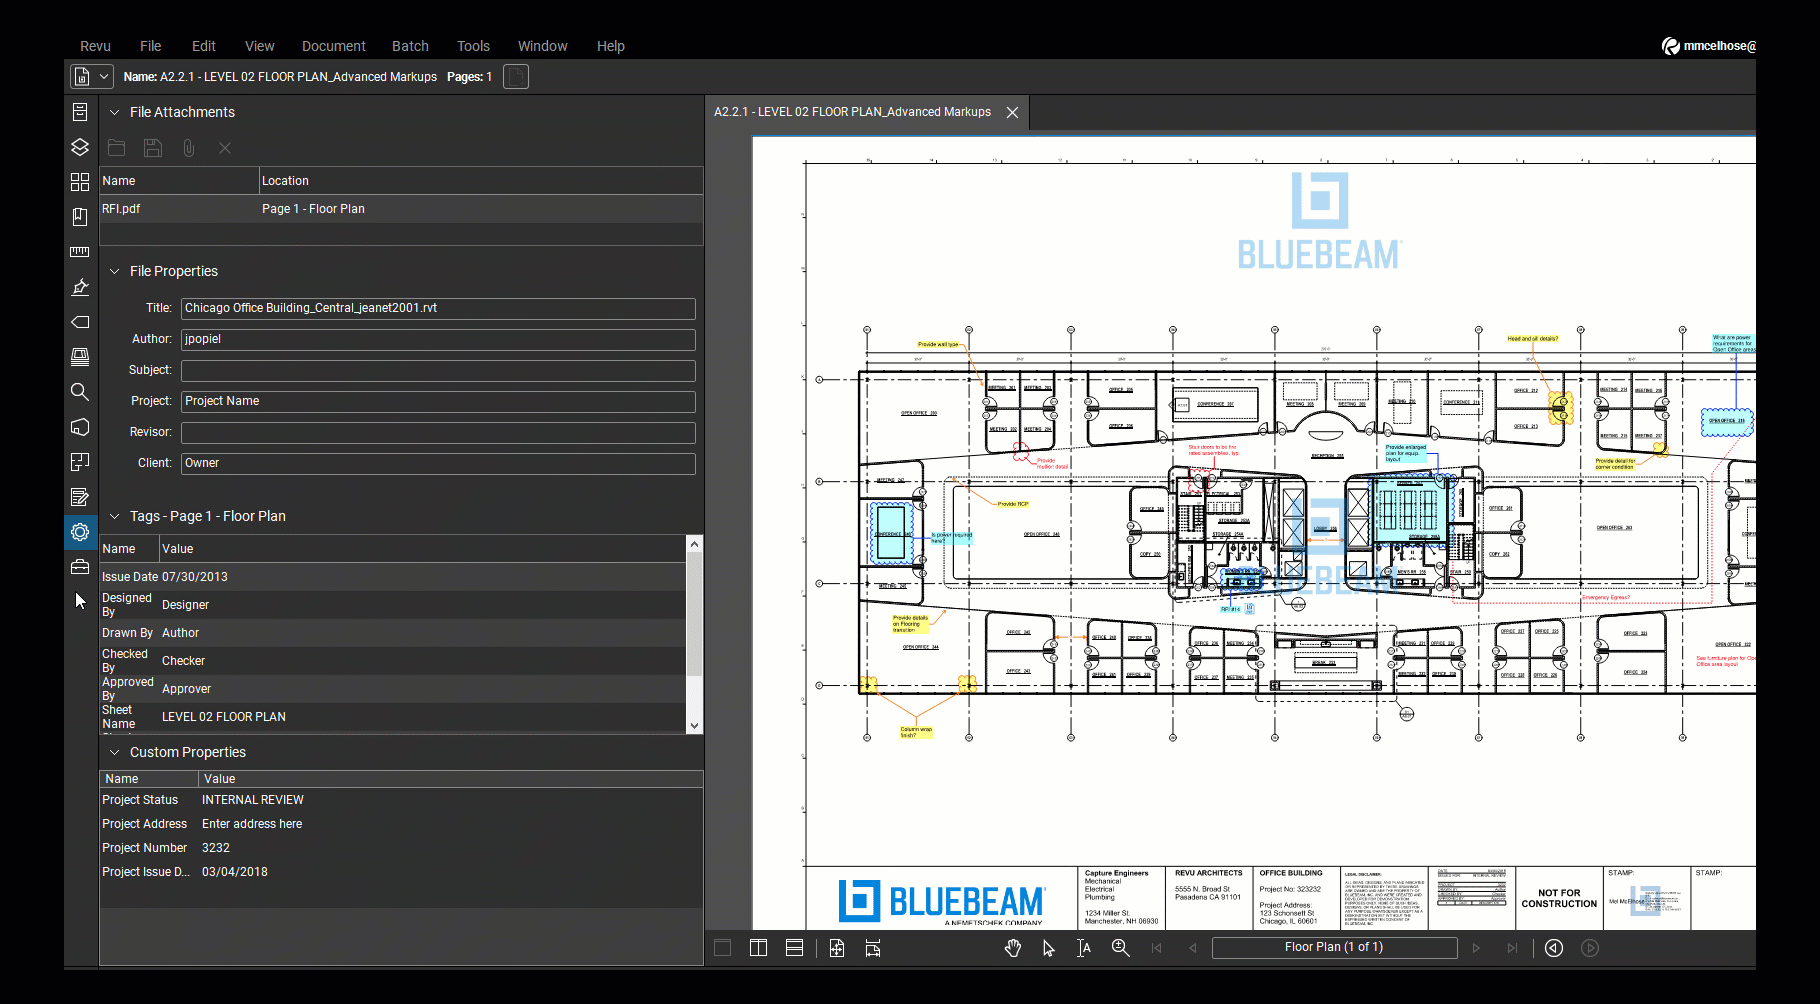
Located directly below the Menu bar, the Properties toolbar is dynamic and only displays relevant properties for selected elements in Revu. If nothing is selected, it displays general document properties.
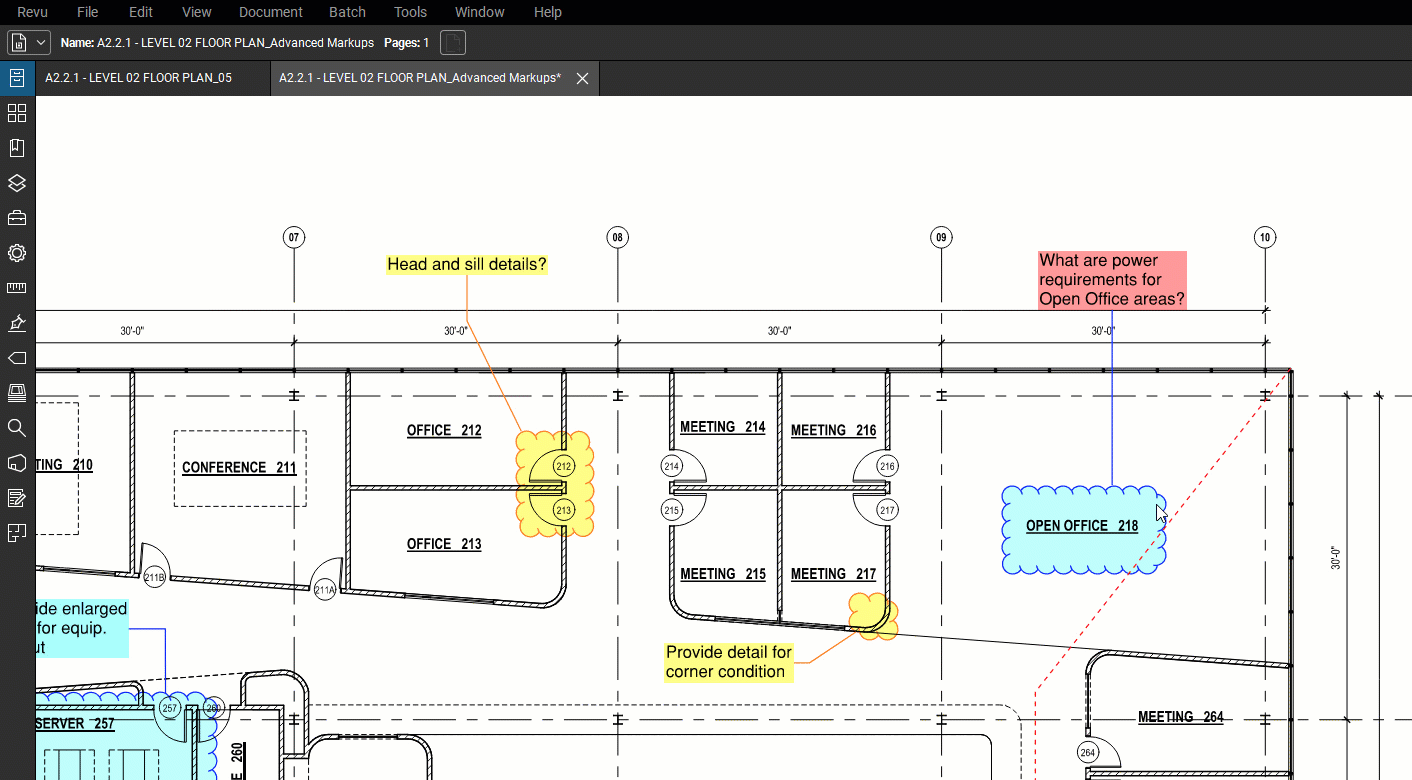
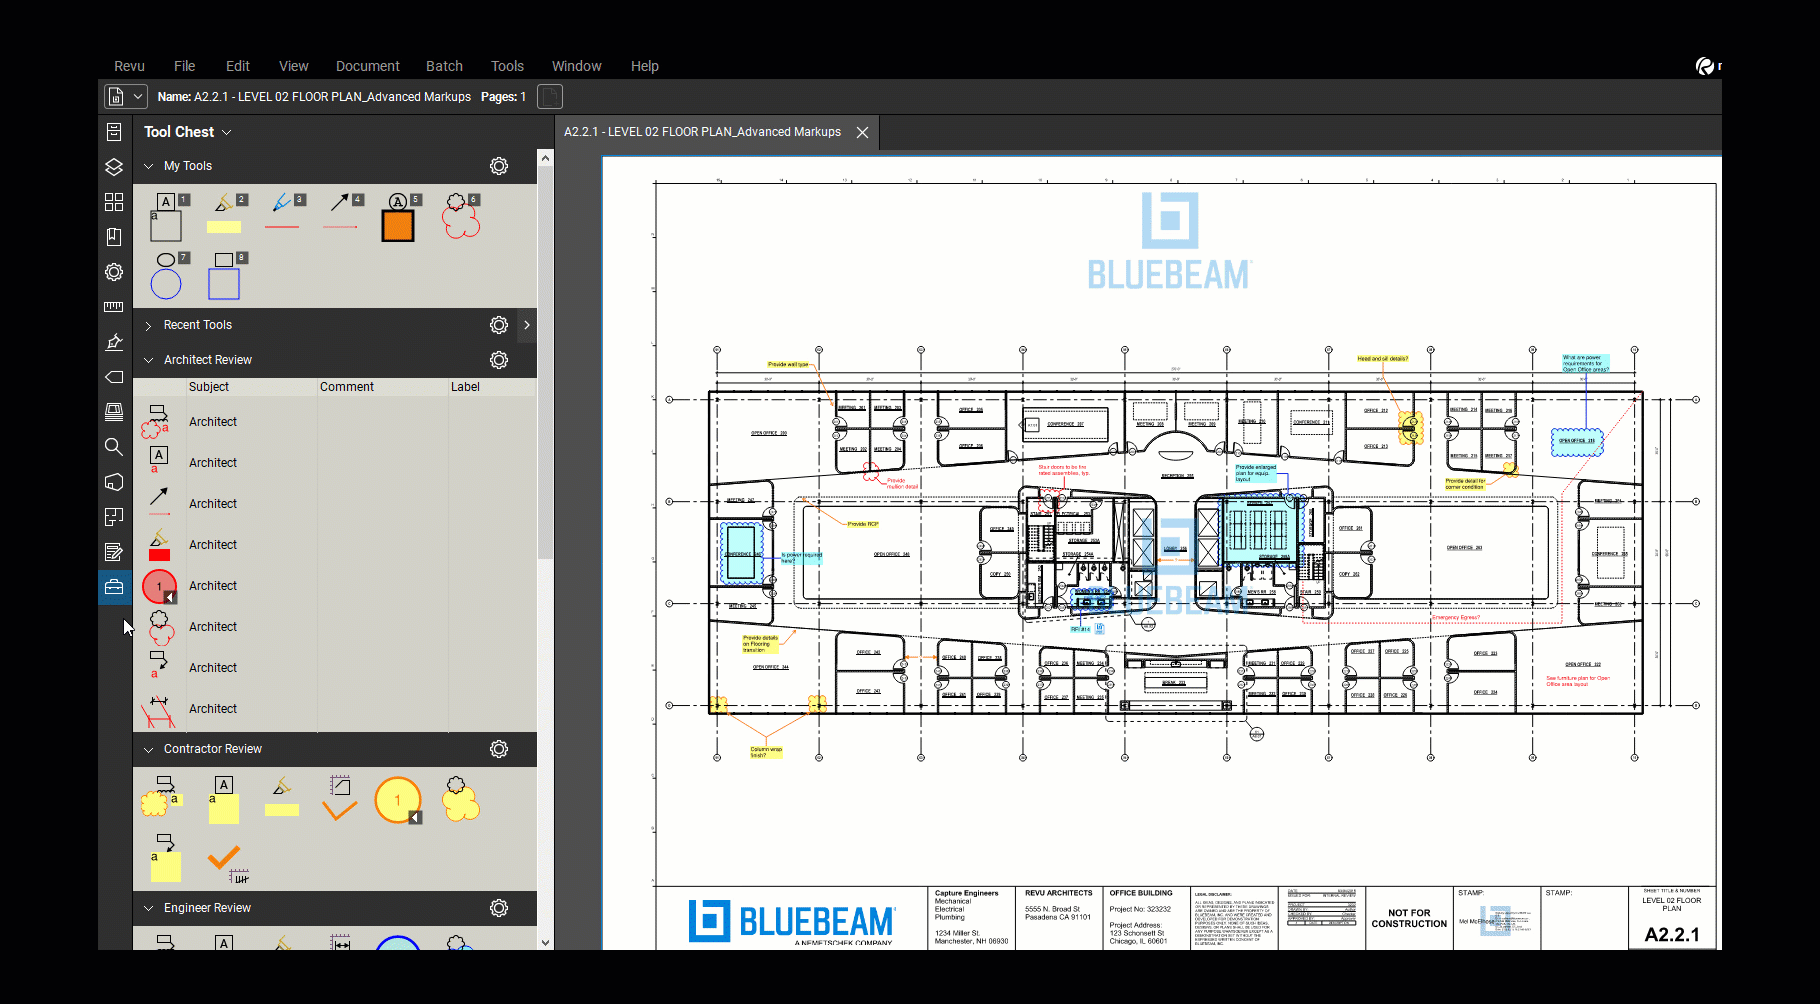
Panel access bars
Similar to toolbars, panel access bars contain icons for opening panels, such as the Tool Chest or  Properties panel. To increase the size of the main workspace, you can configure panel access bars to automatically hide when not in use.
Toolbars
Revu includes many configurable collections of tools, accessed via toolbars, that can be used to customize the desktop application for your project workflows.
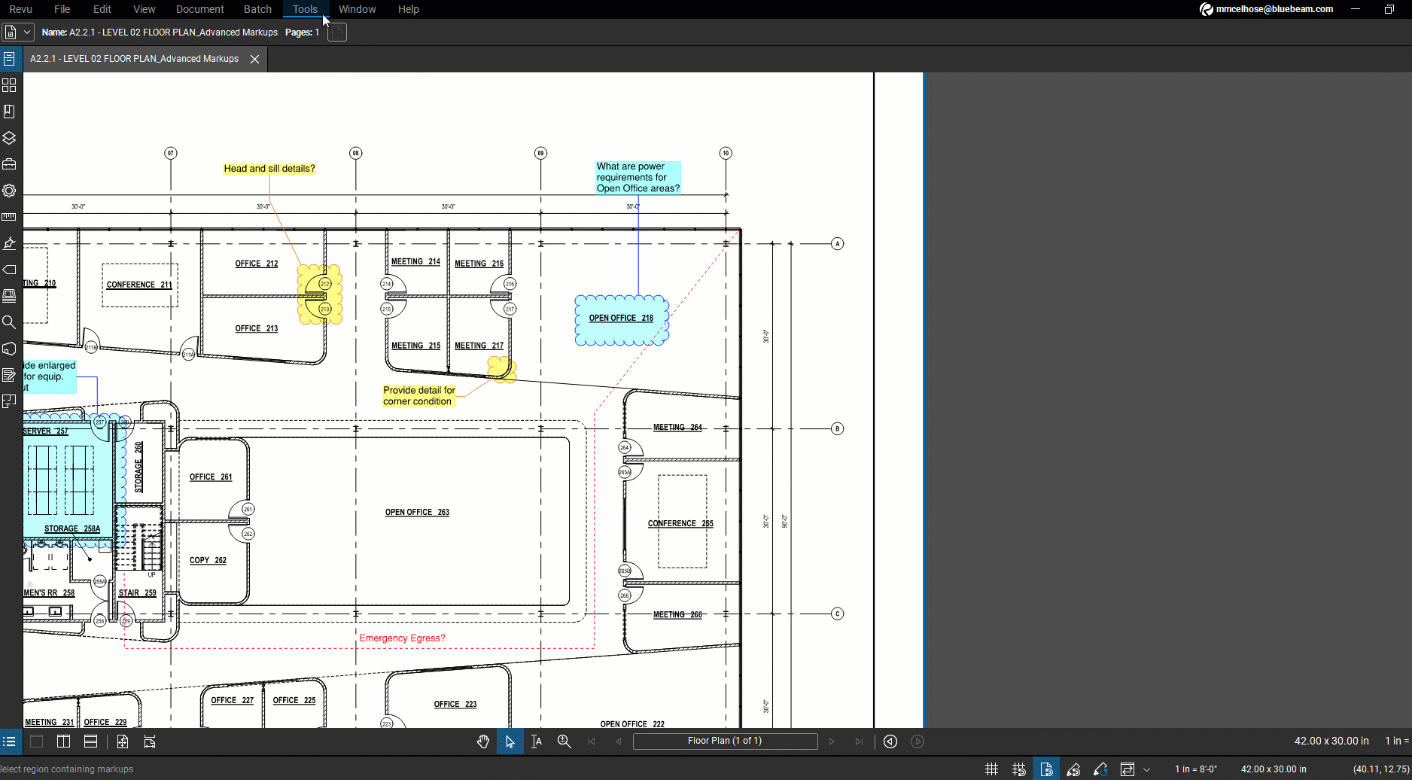
Main workspace
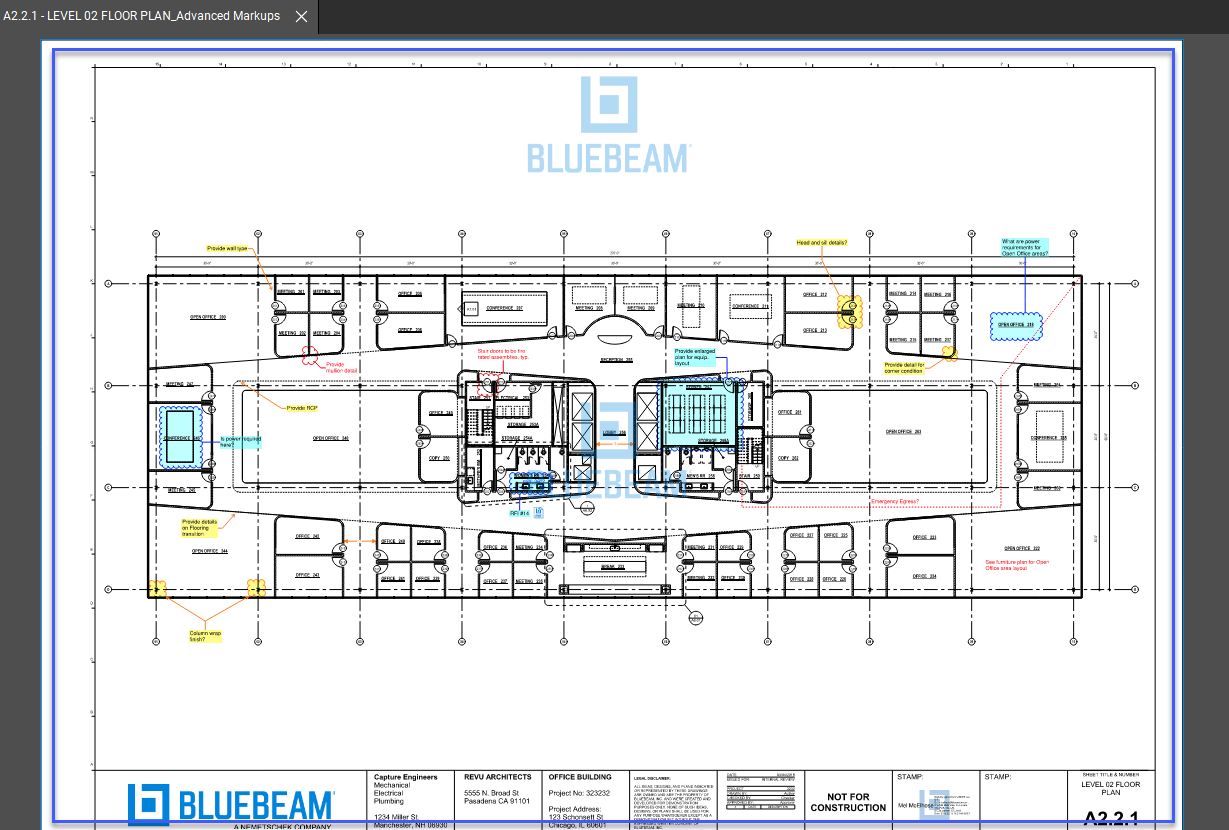
Comprising most of the application interface, the main workspace is where Revu displays drawings and other PDFs.
Navigation bar

Located between the main workspace and the bottom panel (where you can access the  Markups List), the Navigation bar enables efficient movement between pages and views in the main workspace.
For more information about customizing page views in Revu, visit this article.
Bottom panel
 This expandable panel near the bottom of the application is where you can access the Markups List, 3D Model Tree, and JavaScript Console.
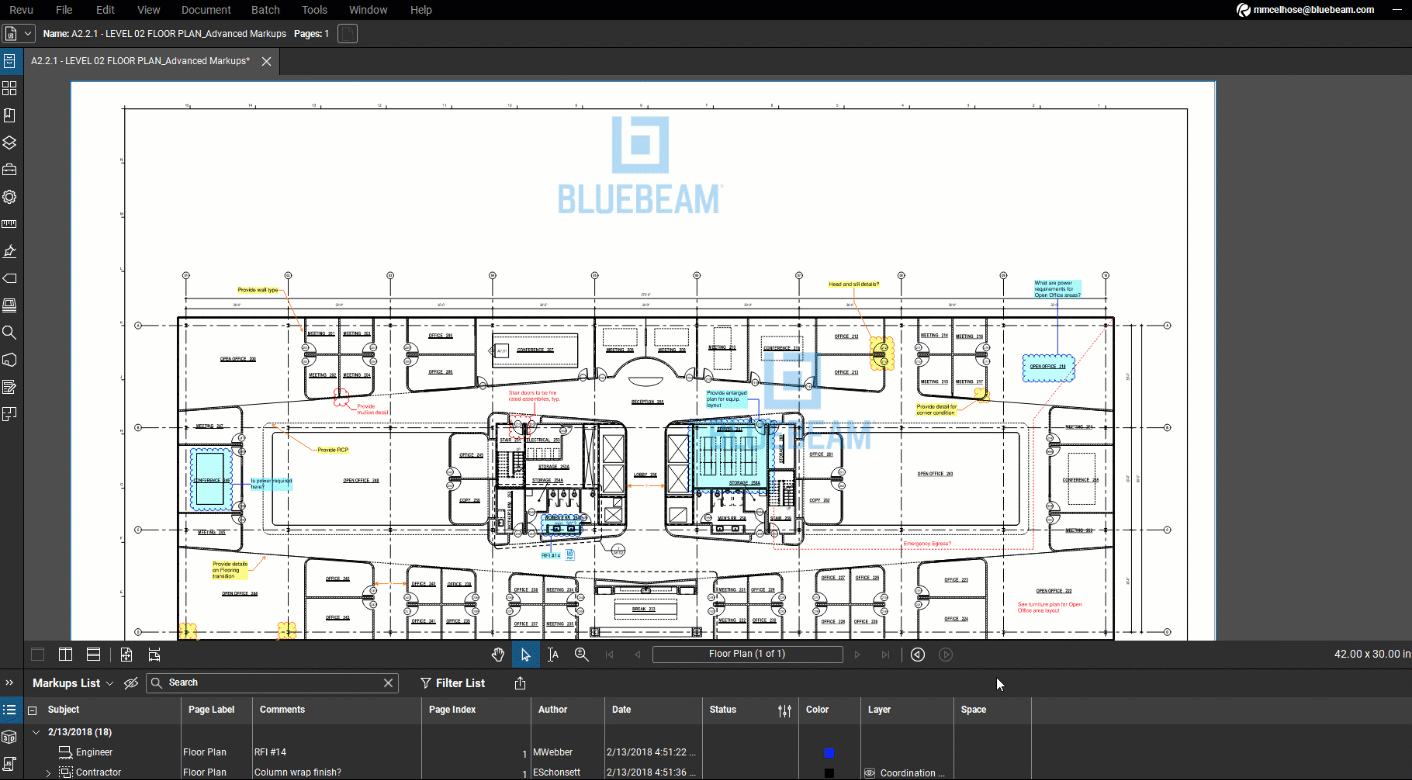
Status bar

At the bottom of the application, the Status bar is a specialized toolbar that includes snap controls, markup reuse, and view synchronization. It also displays the size of an active PDF, drawing scale, and the coordinates of the mouse cursor.
How to customize panels in your workspace
Revu offers many ways to adjust the interface to work best for your project management needs. Here, we’ll go over how to make your most used tools and functions easier to access.
Detach a panel
If you’d like to have a panel float over the main workspace, you can detach it from a panel access bar. To do this:
- Select the panel you’d like to detach (ex. the Tool Chest).
- Right-click the panel icon on the panel access bar.
- Select Attach > Detach.
To reattach a panel to the panel access bar, right-click the panel icon and select Attach. You can also click and drag the panel back to the panel access bar to reattach it.
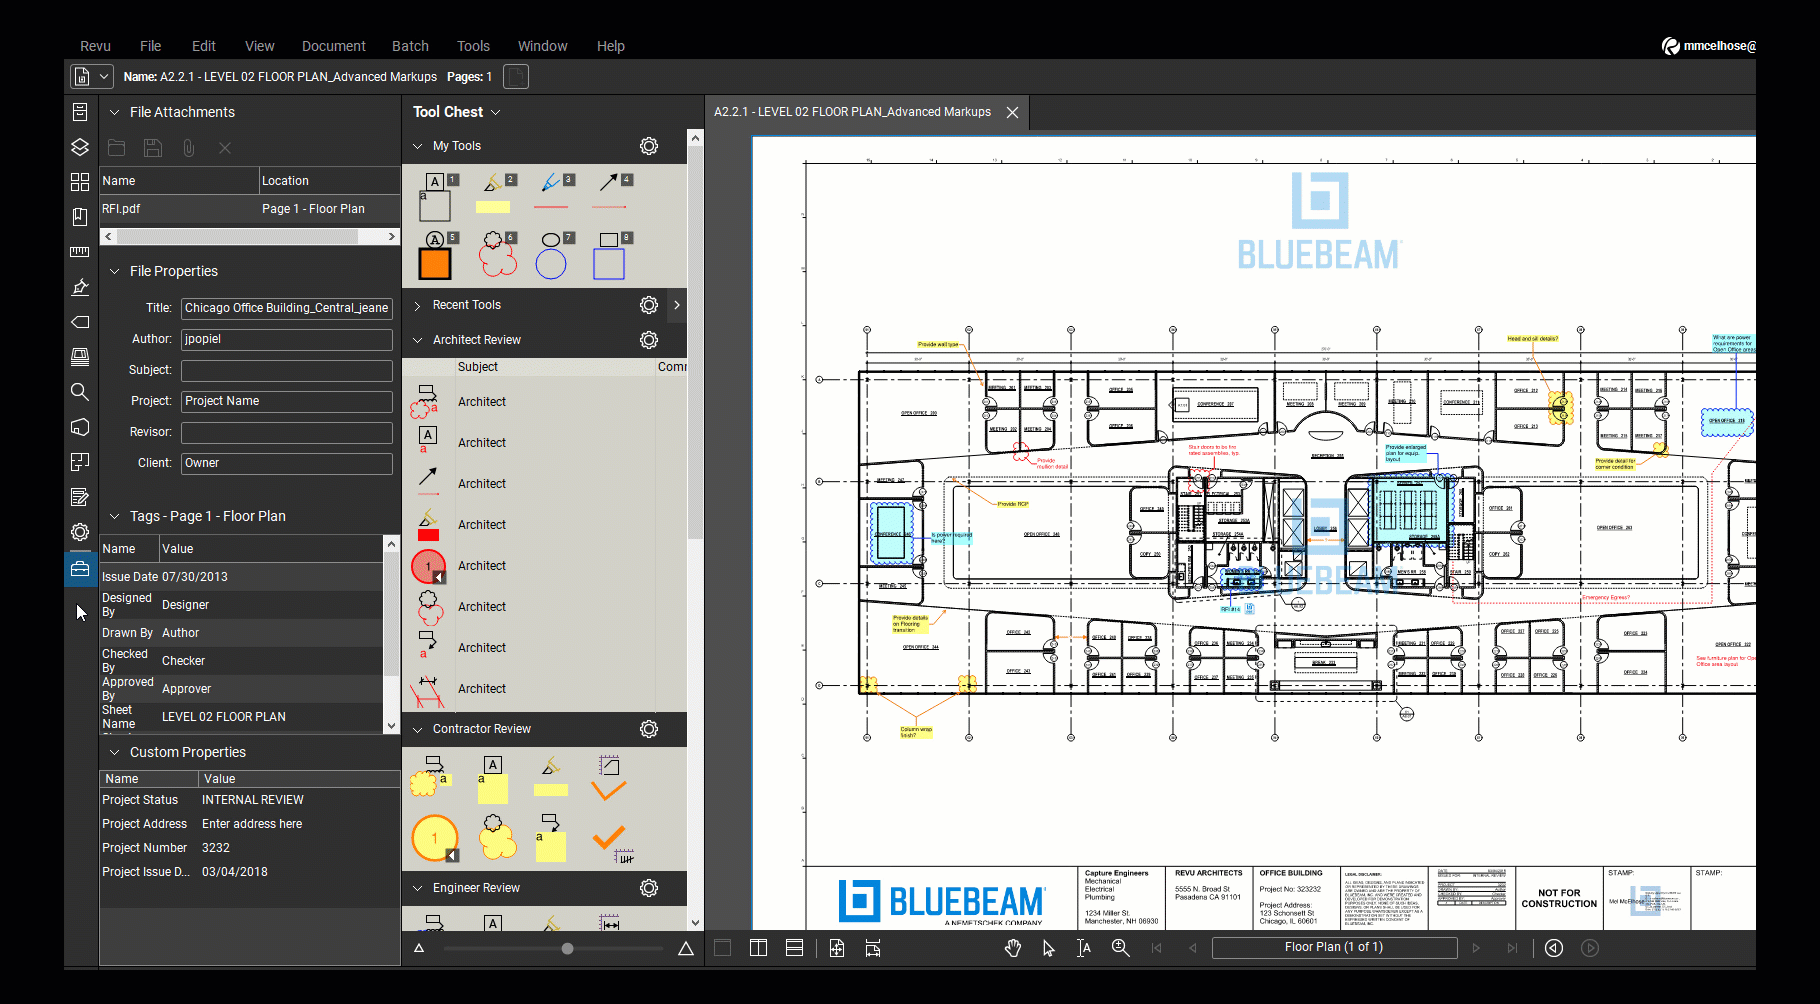
View panels side by side
If you’d like to have access to two panels at once, you can view them side by side. To do this:
- Select one of the panels you’d like in your side-by-side view (ex. the Properties panel).
To set up two panels side by side, the panels will need to be above/below each other on the panel access bar. To move a panel on the panel access bar, click and drag the panel’s icon. - Then, click and drag the 2nd panel’s icon for your side-by-side view (ex. the Tool Chest) into the open panel. A position wheel will appear.
- Release the second panel in the left or right position. The arrows on the position wheel will highlight accordingly.
To disable the side by side panels, click and drag the lower panel icon above the neighboring panel on the panel access bar.
For more in-depth information about personalizing your workspace for particular workflows, visit our Customizing Revu series.
Revu 21
How-To
Getting Started
Subscriptions