This article applies to:
- Revu 21
- Revu 20
- Revu 2019
- Revu 2018
Jump to other versions:
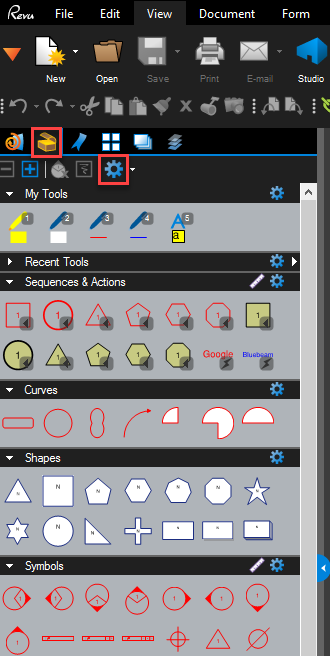
The Tool Chest allows you to store customized markups in tool sets and share them with anyone. You can export tool sets, save them locally to your device, import them, or use synced edits to share them across a network.
How to export a tool set
- Open the
 Tool Chest.
 - Select the
 Properties for the tool set you want to export, and then select
  Export.
 - Select the folder where you want to store the file, and select Save.
After you export the tool set, add or import it to the Tool Chest.
How to add or import a shared tool set
Add a tool set
Use this function if you want to share a tool set on a network drive, to allow multiple users to use it at the same time. Tool sets saved in a centralized network location are cached locally and can be used while offline. Any markups added, edited, or removed from a tool set will apply to all users sharing the tool set. However, while you’re offline, these tool sets can’t be updated or checked out for editing.
To add a tool set:
- Open the Tool Chest.
- Select Tool Chest > Manage Tool Sets.
- Select Add.
- Under Type, select Existing.
- Select the
 Browse button, navigate to the tool set (.btx) file, and select Open.
 - Select the Display and Show in All Profiles boxes, and select OK.
Import a tool set
Importing a tool set copies the .btx file to the default location, which allows individual users to manage the tool set locally. Any changes to an imported tool set will not be reflected in another user’s tool set.
To import a tool set:
- Open the Tool Chest.
- Select Tool Chest > Manage Tool Sets.
- Select Import.
- Navigate to the tool set (.btx) file and select OK.
You can also import tool set files by dragging them from Windows File Explorer to the Revu window.
You can manage tool sets to prevent multiple users from updating a tool set at the same time. A ![]() lock displays above a shared tool set to show that no changes can be made to the tool set. Select the lock to allow changes to a tool set. A
lock displays above a shared tool set to show that no changes can be made to the tool set. Select the lock to allow changes to a tool set. A ![]() check mark displays above an unlocked tool set to show that you can make changes to the tool set. Any changes made to an added tool set will be implemented for all users who share the tool set.
check mark displays above an unlocked tool set to show that you can make changes to the tool set. Any changes made to an added tool set will be implemented for all users who share the tool set.
Other versions of this article
Revu 2017 and older
There are a large variety of customizable markup tools in Revu you can use to add comments, measurements and symbols to a PDF. Each markup in Revu has a set of properties controlling the appearance and information saved with it. Revu’s exclusive Tool Chest allows you to store these in custom tool sets and then share them with colleagues around the world.
By default, the Tool Chest ![]() is located in the left panel of the Revu interface. If you do not see this tab, go to View > Tabs > Tool Chest
is located in the left panel of the Revu interface. If you do not see this tab, go to View > Tabs > Tool Chest ![]() or press Alt+X.
or press Alt+X.
Next, click Manage Tool Sets ![]() . You will see the list of current tool sets as well as buttons for the Import, Add and Export functions.
. You will see the list of current tool sets as well as buttons for the Import, Add and Export functions.
Sharing a Tool Set
To share a custom tool set, you’ll need to export it as a .btx file and then either email it or upload it to a shared network drive, or any other file sharing system.
Importing or adding a shared Tool Set
There are two different ways to load exported tool sets into Revu, and this is where you decide how you want your colleagues to manage the new tool sets.
- Add – Use this method if you want to share a tool set on a network drive so that Revu “reads” it from that location, which lets multiple users access it at the same time.
In Revu 12 and above, tool sets that reside in a centralized network location are cached locally and can be used while offline. However, while you’re offline, these tool sets can’t be updated or checked out for editing. - Import – This function copies the .btx file to the default location, which lets the user manage the tool set locally on their hard drive.

See the Tool Sets section in the Revu Help manual for more information.
Learn More
Revu also makes it easy to share profiles and stamps with colleagues, which can help create a standardized workflow within your organization. Learn more by clicking the links below:
How-To
Revu 21
Revu 20
Revu 2019
Revu 2018
Revu 2017 & Below
Markup
Interface & Navigation