Creating a Punch List with the Markups List
The Markups list records every markup you make as it is made, and shows the markups in a tabular format. This eliminates the need to comb through hundreds or thousands of punch sketches to compile a punch list; Revu compiles the list for you. In addition, the Markups list has powerful sorting and filtering features to help you organize your punch list. The list can be exported to other programs or appended to the original PDF.
The Markups list allows sorting by any variable it records. Subject sorting allows you to sort markups by the discipline associated with each tool in the tool set. The Responsibility column tracks the responsible party for each tool, so even if multiple parties are responsible for a single discipline, such as two electrical contractors, you can ensure the correct party is notified of the correct punch items. The Space column allows you to quickly sort problems by the area they are located in, even if the markups are all on one page.
The Markups list also allows user-defined Custom Columns, which are completely customizable to suit your needs.
Go to Window > Panels >  Markups or press ALT+L to show the Markups list if it is hidden.
The Markups list has a powerful filter that allows you to filter by column values or by searching.
The following example will demonstrate filtering by the Subject column for Electrical markups.
- On the Markups list toolbar, click
 Filter.
 -
Click the
 filter icon next to the Subject column and select Electrical.
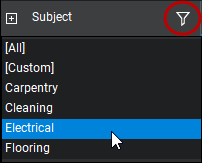
Only the Electrical markups will be visible in the Markups list, and on the drawing other markups will be dimmed. This process is the same for any column in the Markups list. It is also possible to filter by search term. The following example will also filter for Electrical markups, but using the search term method.
- On the Markups list toolbar, click in the
 Search field.
 - Enter Electrical.
The result is the same as if you had filtered by the Subject column as above. This feature is especially useful when filtering a document with many Spaces: instead of going through a menu of hundreds of rooms, you can simply search for the room number you want.
You can export the data to Excel or other spreadsheet programs using a CSV or XML export, or you can output a PDF summary that can either be appended to the drawing you are working on or made into a separate file.
Note that Revu sometimes outputs two extra columns of data that are used internally but have little use outside of the Revu program, so when exporting to Excel via either of these methods, you might want to hide the first two columns of the resulting spreadsheet.
- On the Markups list toolbar, go to
 Summary and select XML (or CSV) Summary.
 - Enter the range of pages you want summarized and any other options desired, then click OK.
- Chose a location to save the file, such as your Desktop, and click OK.
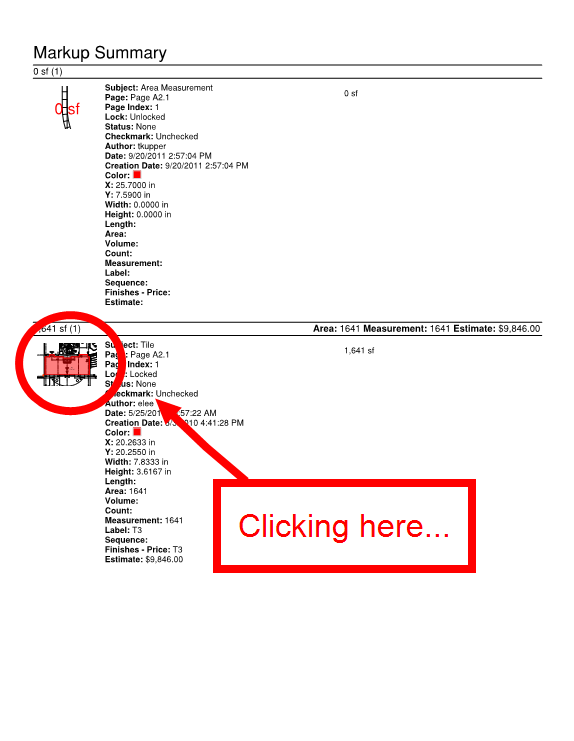
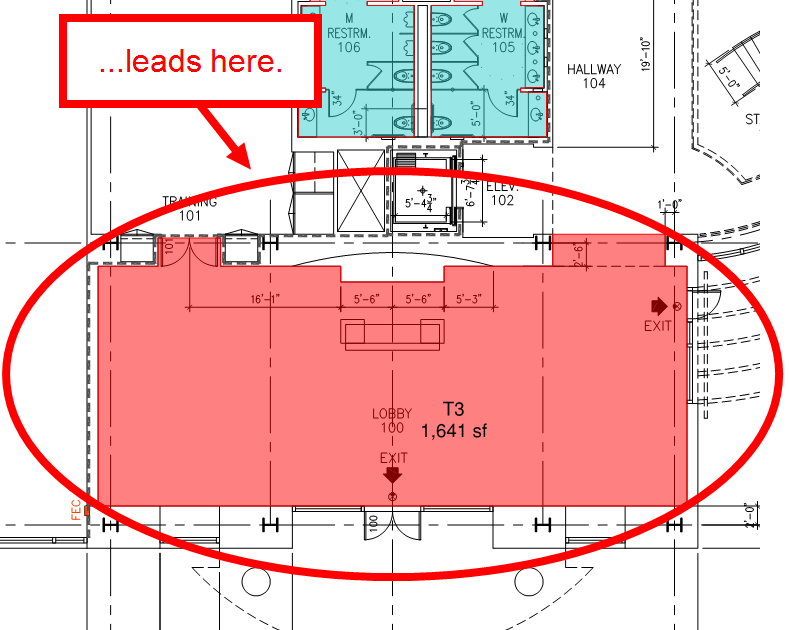
A PDF summary of the Markups list includes a thumbnail preview of each markup along with the data you’ve created. PDF summaries that are appended to the original PDF also include a hyperlink to the original markup. That way, as you are scrolling through the chart, if you want to jump back to the original drawing to check a measurement or see a larger context, a click will take you there. To create a PDF summary and append it to your drawing, perform the following steps.
-
On the Markups list toolbar, go to
 Summary > PDF Summary. The PDF Summary dialog box appears.
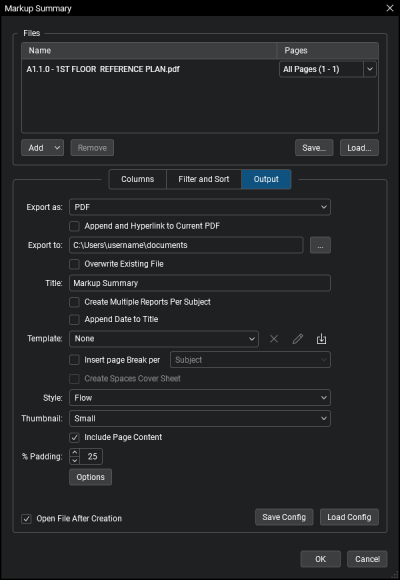
- Choose which pages to summarize from the Pages menu.
- In the Filter and Sort tab, you can set up filters on selected columns to filter out certain data.
- Enable Append and Hyperlink to Current PDF.
-
Click the Style list and choose Flow or Table. Flow covers one markup at a time in a roomy readable flow. Table recreates the layout of the Markups list in a tabular format that fits more information per page.
Note: If you choose the Table style summary, an additional option, Use Current Column Widths, will be available. Uncheck this box to inherit the relative column widths of the current Markups list layout. Check this box to use default widths and override the Markups list's layout.
- Click the Thumbnail list and choose Small, Medium, or Large. This setting determines the size of the preview of each markup in the summary.
- Click OK.
The summary will be created and appended. To view the summary, select the Thumbnails tab and click a summary page to jump to it in the workspace.
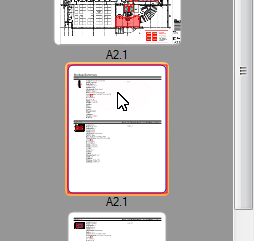
On the summary, each takeoff appears next to a display of data related to it. Click a markup to jump to that area of the original drawing.
